


 Reply With Quote
Instructions:
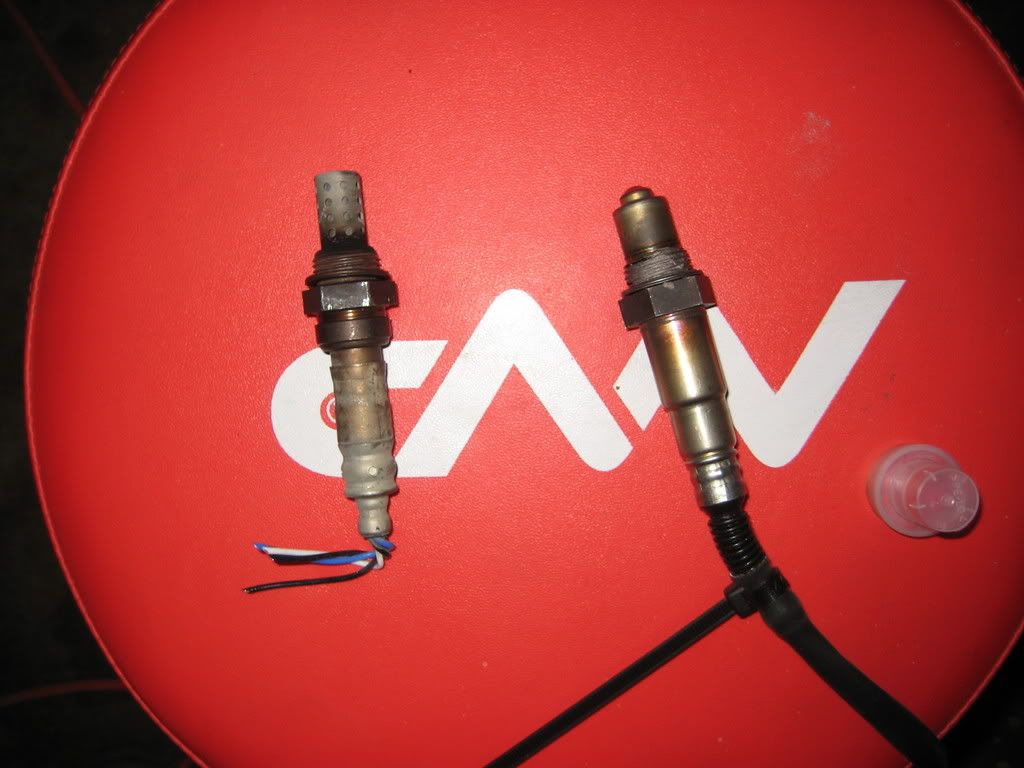
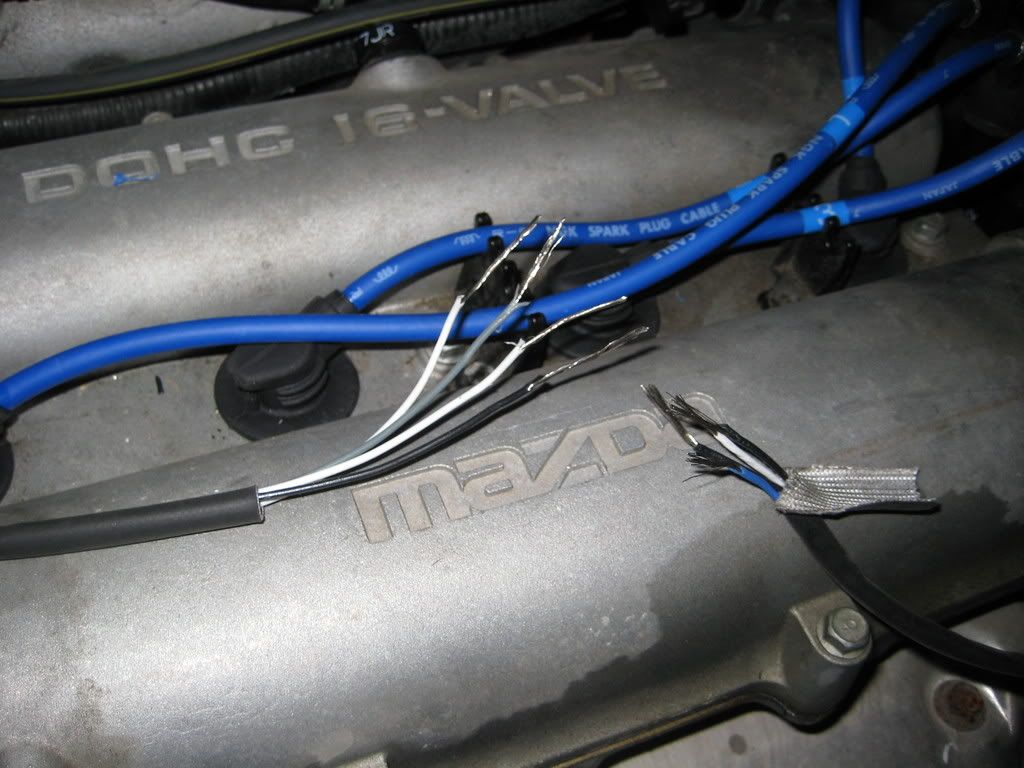
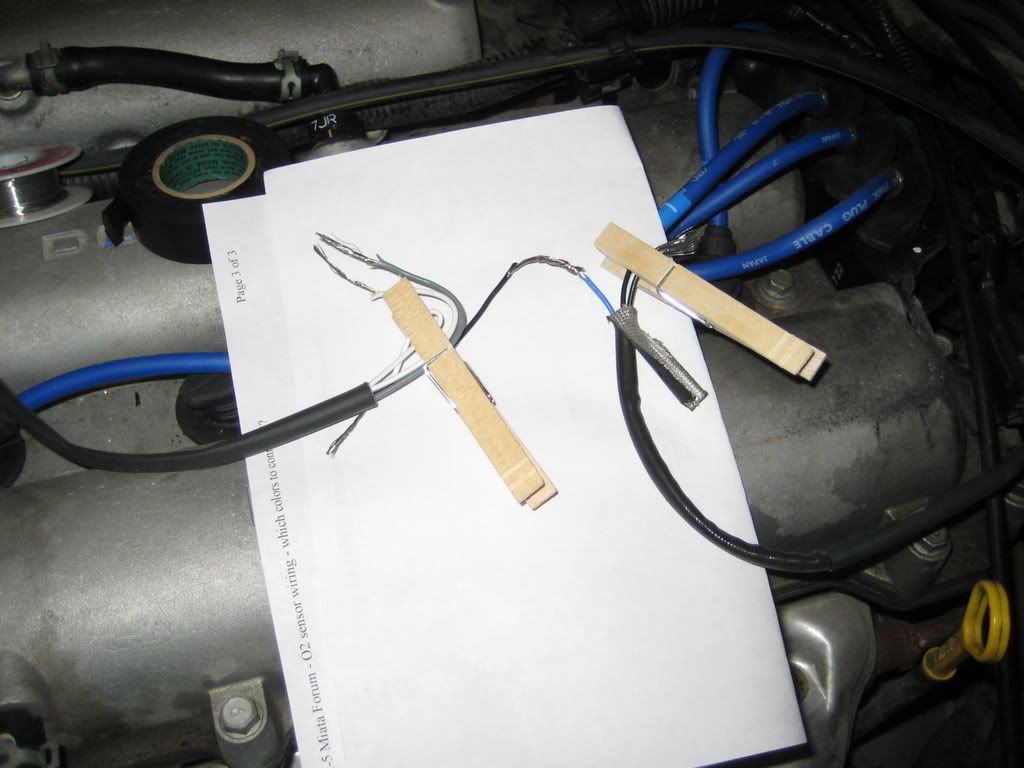
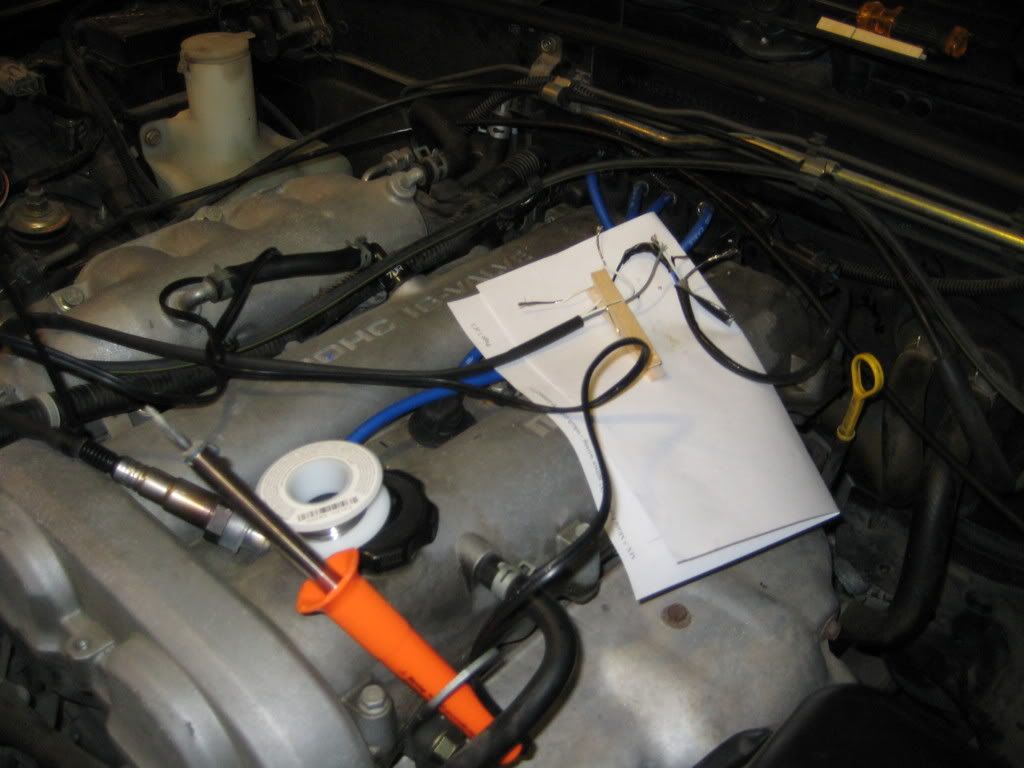
All references to "O2 Sensor" below is only referencing the Pre-Cat O2 Sensor.
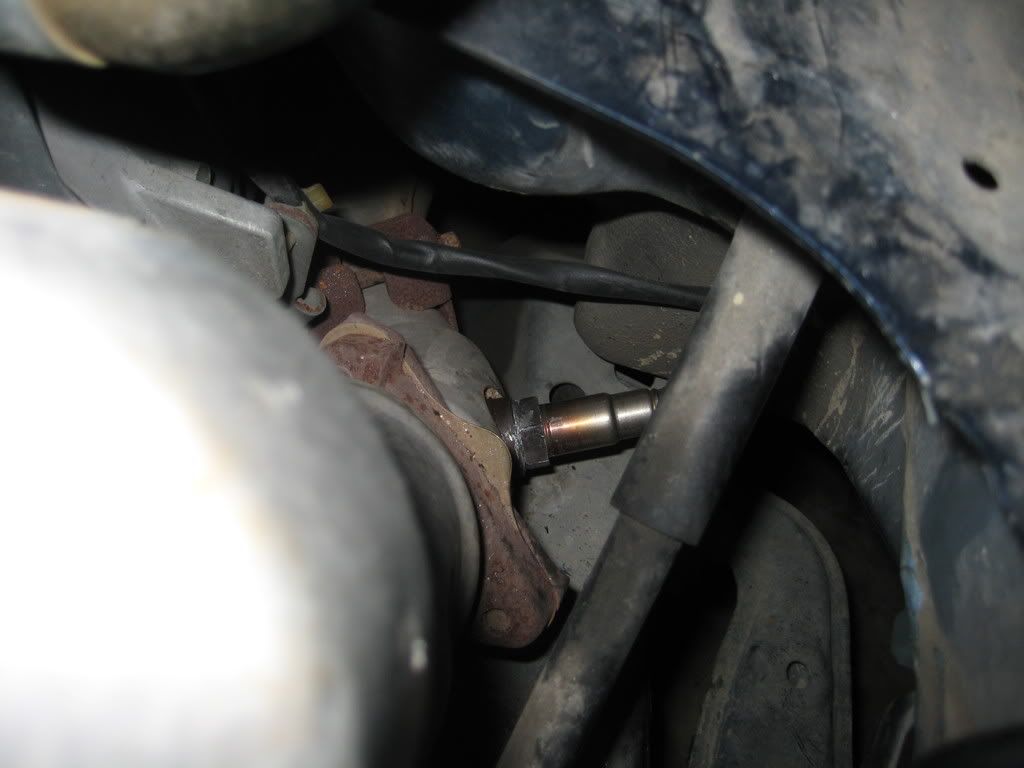
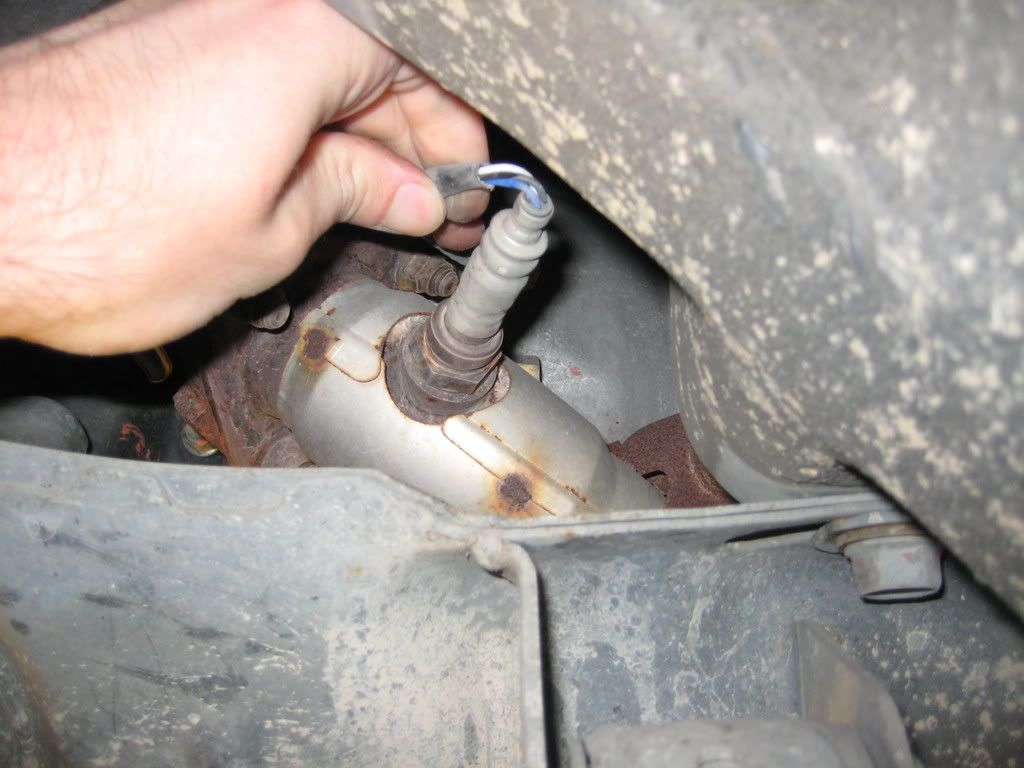
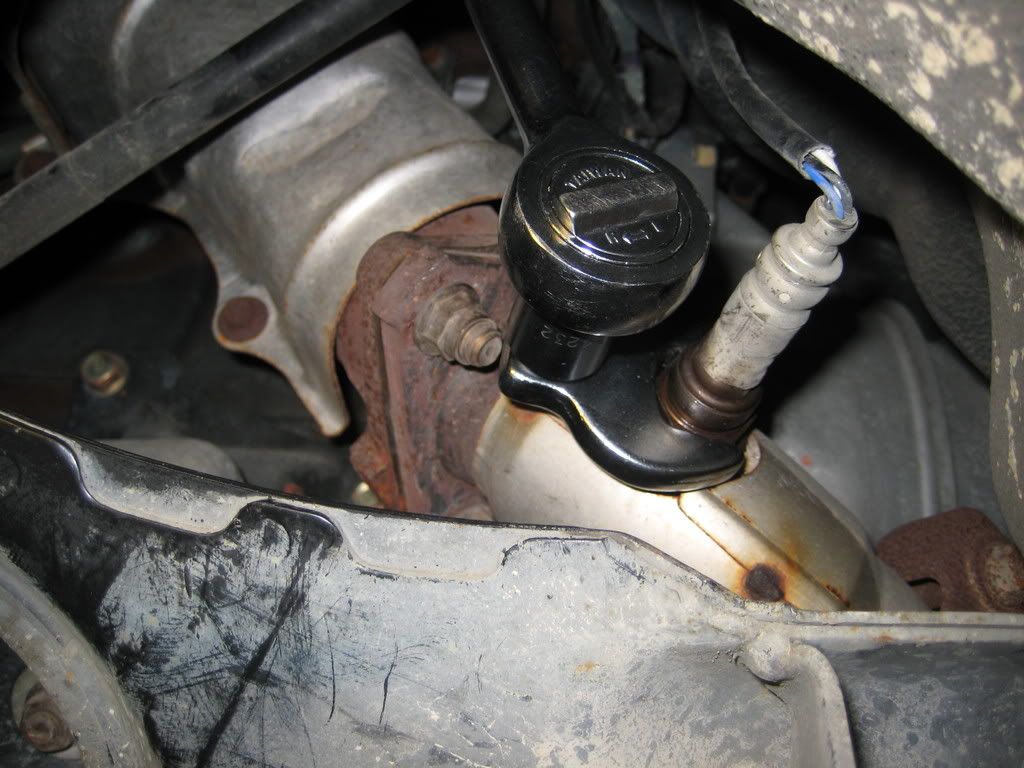
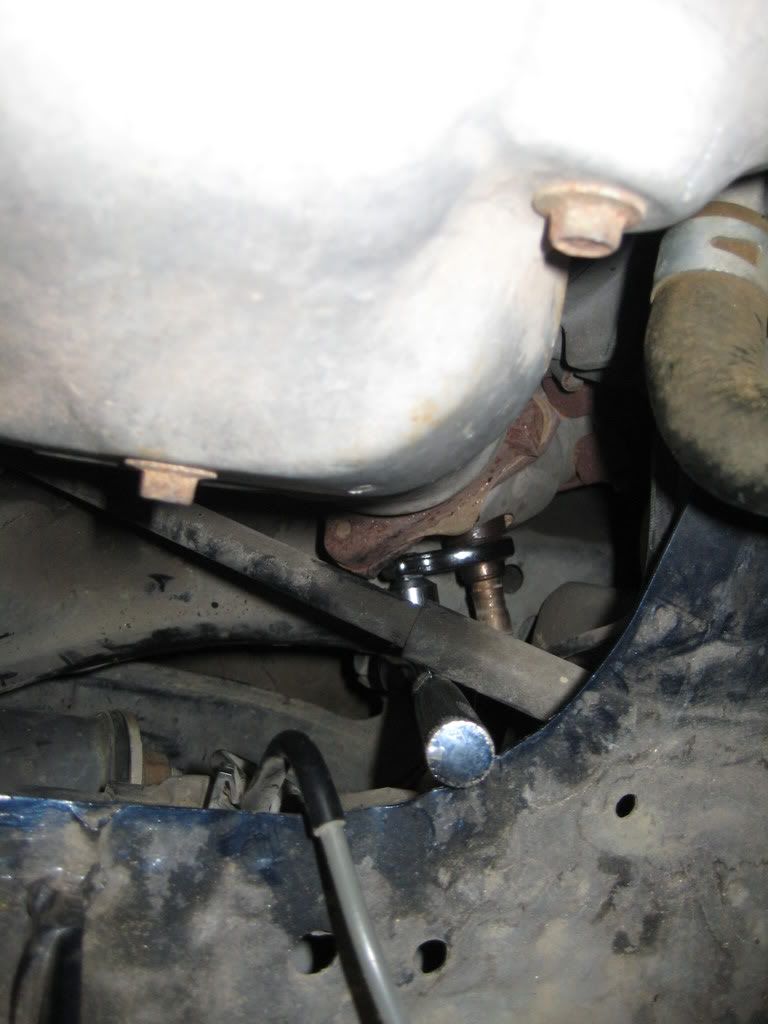
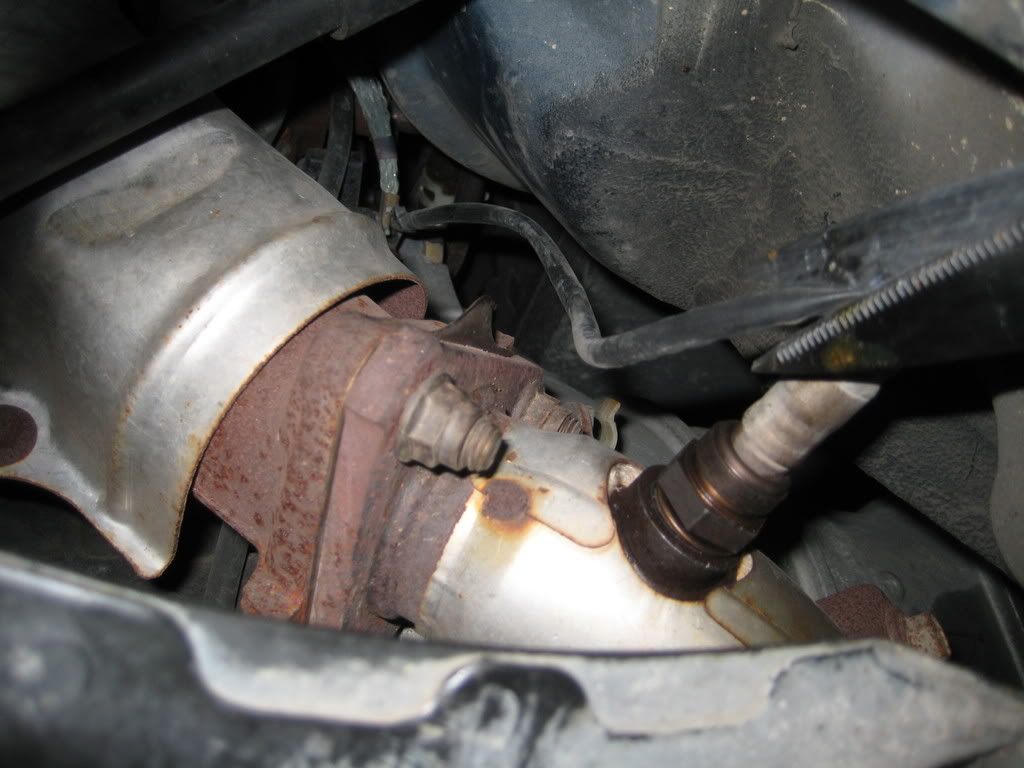
Step 1: Locate O2 Sensor
The O2 Sensor is to the rear of the front driver-side suspension.
- You can actually crack your hood on an NB and see it if you follow the exhaust pipe out of the manifold down to where it goes underneath the firewall on the drivers side.
- You can also see it by cutting your wheels to the right and peeking at it behind the front wheel on the driver’s side.
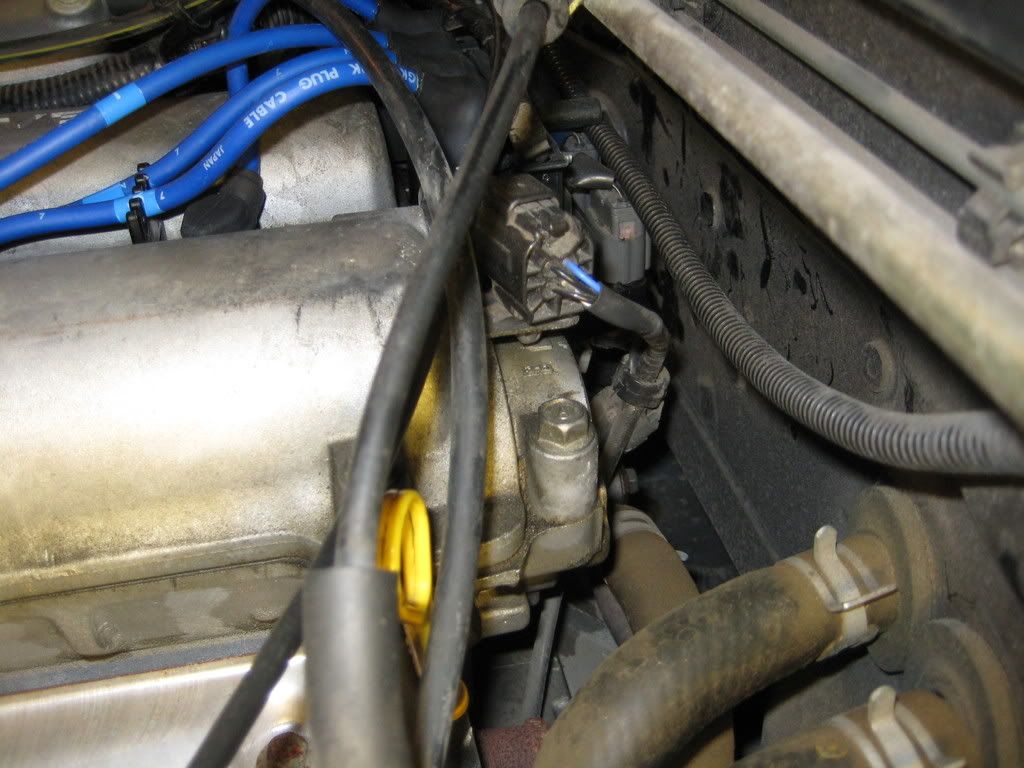
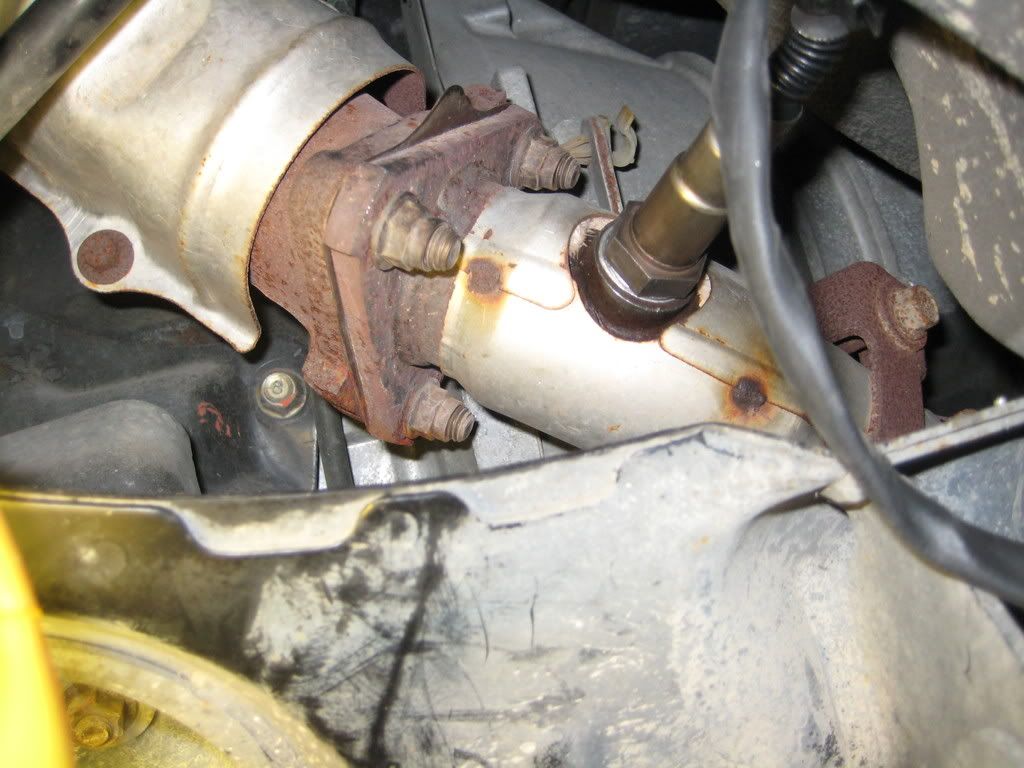
Here is the O2 Sensor looking down from the engine:
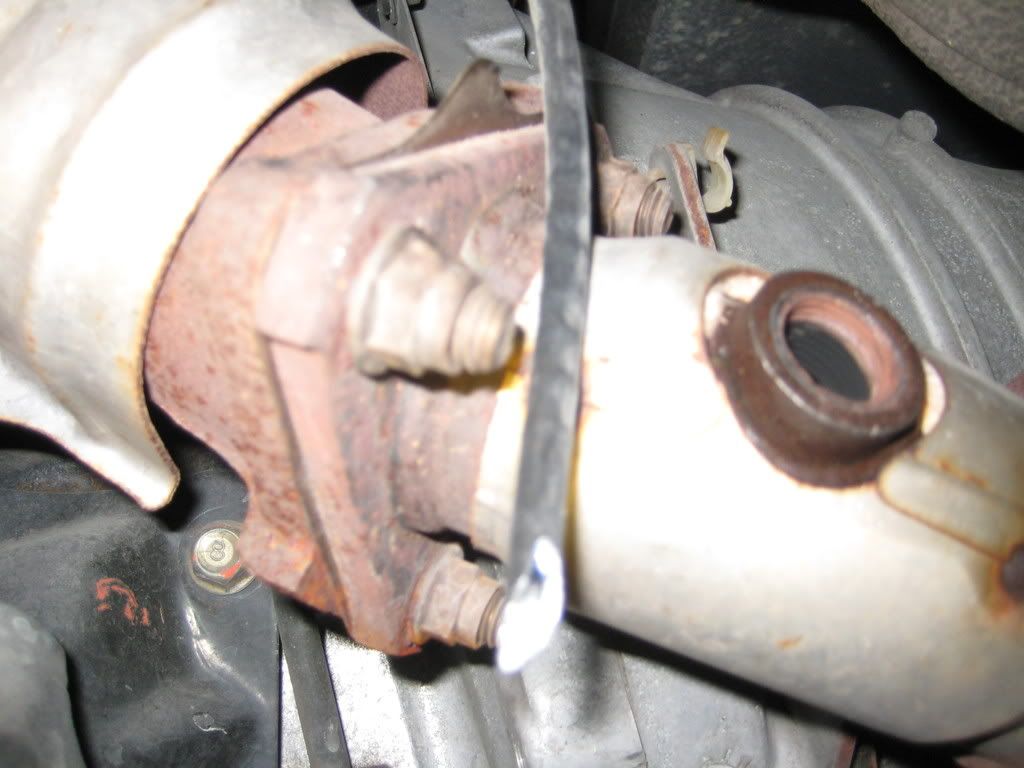
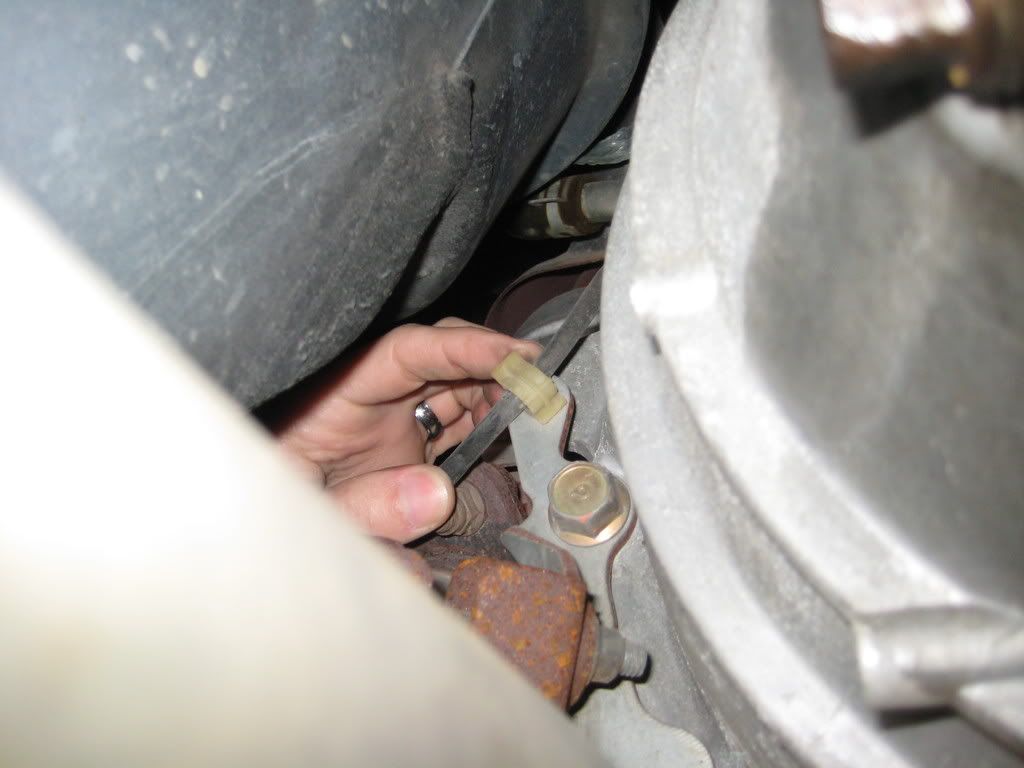
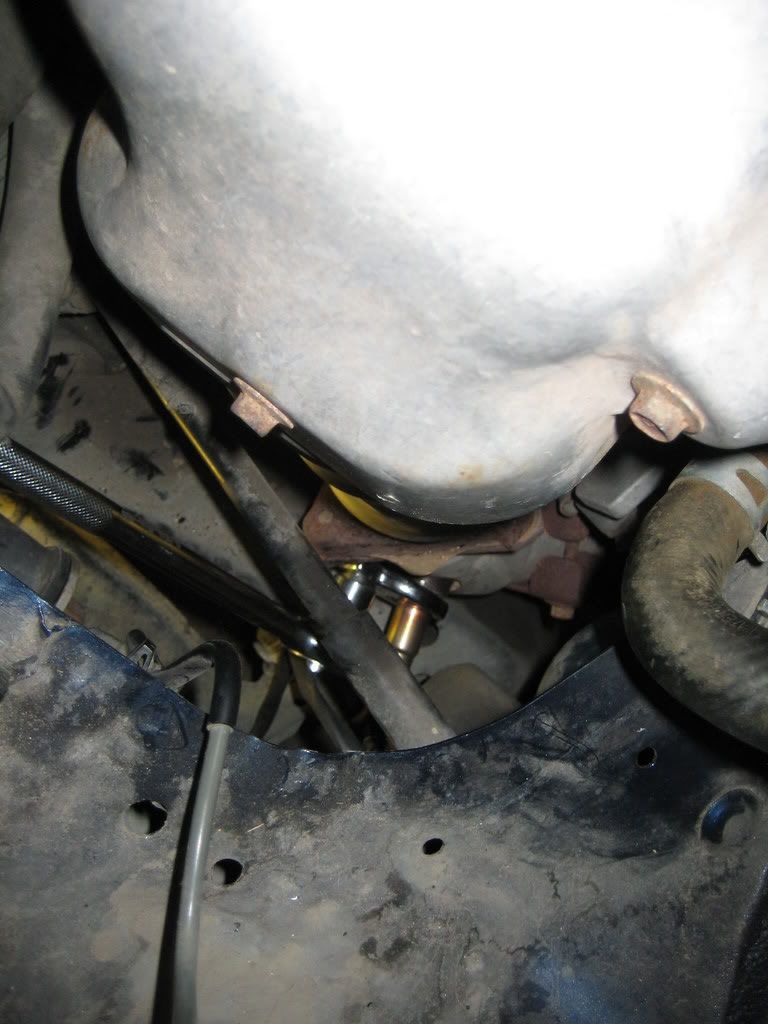
Here is the O2 Sensor from beneath the car looking from the front suspension:
You could probably do the whole thing from above... however I did a combination.
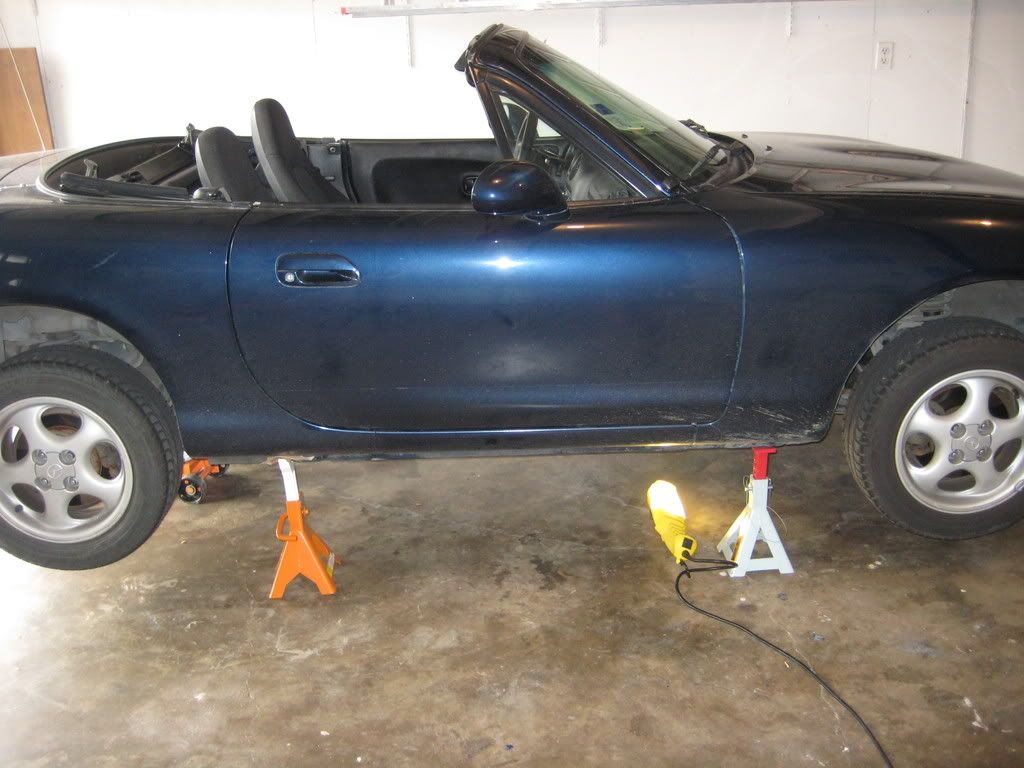
Step 2 - Jack up the car
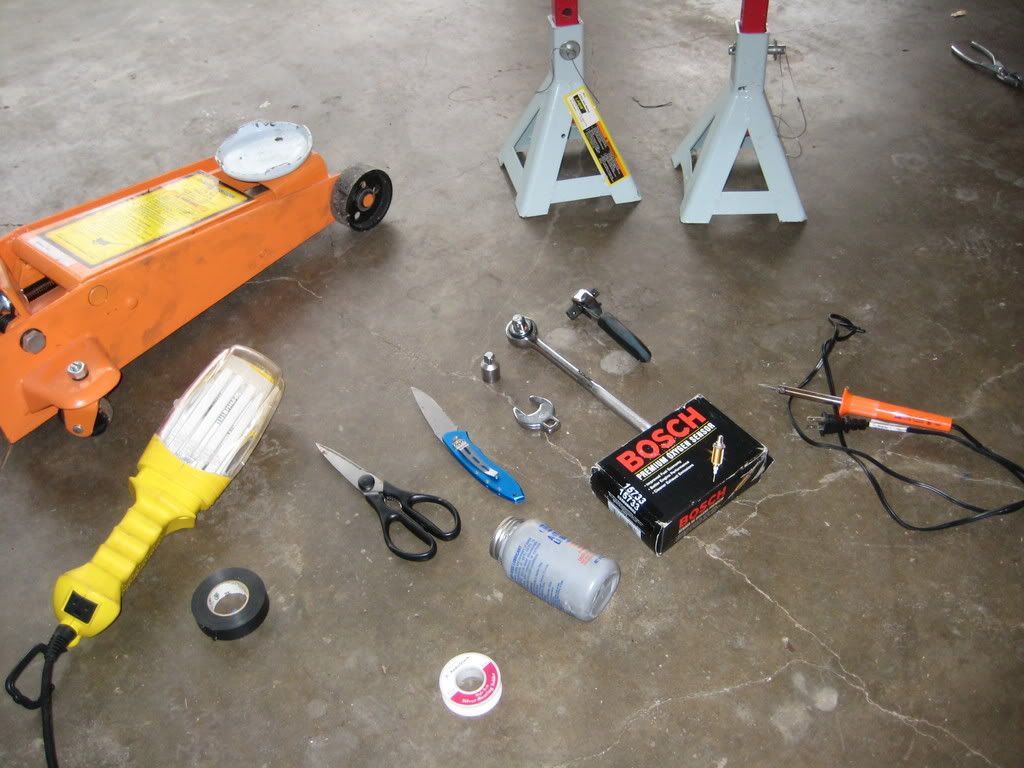
Use existing DIY on the big board and common sense.
Jack up the car. You can either jack up the driver’s side front, all of the front or all four corners.
I chose to do all 4 corners. Just because at first I thought the O2 was buried in the middle when I got a look at how the catalytic converter was so far towards the middle. It also gave me a good opportunity to get acquainted with my car.
Once you have jacked up your car and it is secured via jack stands you are ready to move on to step 3.


 fuel filter?
