")


 Reply With Quote
Before Nose
After Nose
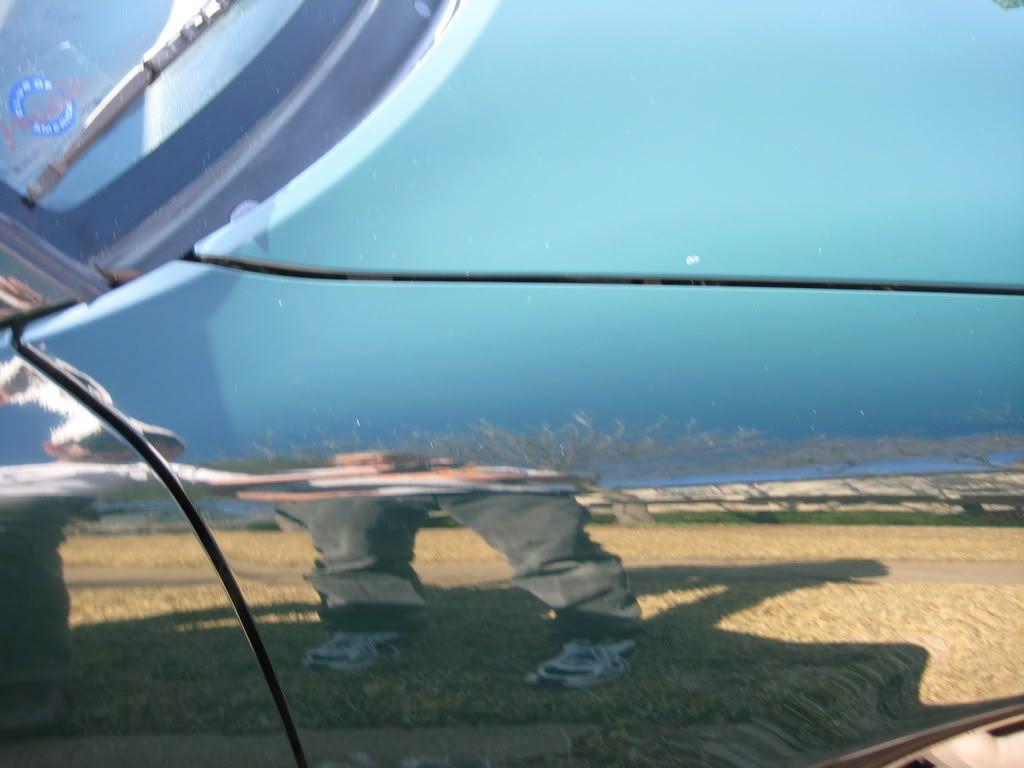
Before Hood
After Hood


Andy and I spent the day working on our Miata's.
He was lucky enough to tackle my fuel filter (I am still high from the fumes), spark plug wires and plugs, air filter, PCV Valve and fixing my door.
I am thinking I got the best deal because I only had to detail... thanks again Andy!
We got out some large scratches and got rid of some cloudy parts.
It really had a great result!
************************************************** *************************
Here are some more descriptive instructions:
1) Wash Car
Items Used: Blue Coral Car Wash, Microfiber Towels, Two Buckets (one for dirty water and one for suds.
My Method:
a) Really? Do you need a DIY? If so please stop... take to a professional.
b) Seriously though fill one bucket up with suds and water... the other bucket with water.
c) Wipe off dirty car with sudsy microfiber towel from sudsy clean bucket.
d) Wipe car with that towel then dip and wring out in dirty water bucket.
e) repeat c.
*Doing this will lessen the amount of dirt still on the towel thus reducing spider webbing over the 6 months between detailing.
Does not have to be a good drying job.
*Don’t use dish soap because it will dry out your rubber parts and discolor your black trim over time.
2) Clay Bar
Items Used: Pinnacle Clay Bar, 50/50 Water and Rubbing Alcohol Mix in Spray Bottle, Microfiber Towel, sandwich baggie and Clay Lube.
My Method:
a) Place hand in sandwich baggie and rub on paint. You should feel LOTS of contaminates on the paint. If you skipped this step you will reduce the effectiveness of the paint correction and sealant later. The contaminants will hinder you from actually reaching the paint.
b) Take clay lube and spray on the car... take the clay bar and rub on surface.
c) Any clay residue can be dealt with by spraying the 50/50 H20/ Alcohol solution and wiping dry with a microfiber towel.
d) Place hand in sandwich baggie and rub on paint. You should feel a huge difference. I normally will clay the area until it feels about 80% better. Horseshoes and hand grenade method.
3) Paint Correction
Items Used: Blue Painters Tape (thick), Porter Cable 7424 w/ car detail fixings, mechanics gloves, spray bottle with H20. Details on combos below.
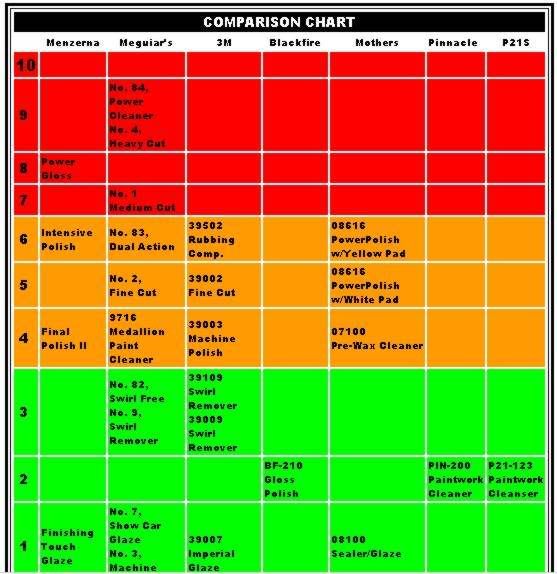
In order of light to heavy cut:
Light - Orange Pad w/ Pinnacle XMT 3 Intermediate Swirl Remover
Medium - Orange Pad w/ Menzerna Intensive Polish
Medium Heavy - Yellow Pad w/ Menzerna Intensive Polish
Heavy - Yellow Pad w/ Menzerna Power Gloss
Always start light and move up... as tempting as it may be to throw a yellow pad on fight the urge.
My Method:
a) Tape off all trim, emblems, windshield nozzles on hood, areas where paint is near your conv. top, seals, door handles and antenna bases. You will thank me later for this step!
b) Put gloves on... if you don’t you will have very raw and vibrating hands. Especially when you are on hour 3 of your detail.
c) Mist pad with water
d) Take Pinnacle XMT 3 and place a quarter size dab on the pad
e) Take the Porter Cable and smear the quarter size dab on the car in a 2 X 2 or 3 X 3 area (this reduces splatter).
f) Put Porter Cable on 4.5 Speed and work the 2 X 2 or 3 X 3 area for ~ 5 Minutes. Alternate applying pressure and allowing the pad to spin with a light touch. You will see the Pinnacle go from thick to a thin greasy layer... almost like it isn’t even there. Mist pad every few minutes. When done wipe residue off with a microfiber towel.
g) Don’t be afraid to retry the same pad and correction combo again before moving up the ladder.
*The learning process for me was to SLOOOOW DOWN and work the stuff into the paint. Before I would fire her up and go for 1-2 minutes... then go to a heavier cut. I have found that if you take your time you can do 80% of the things with a light paint correction and more time spent.
On really bad areas you can work your way up the ladder. Remember the heavier you go to try more speed... alternating between 4.5 and 6.5 on the Porter Cable and applying less pressure.
Remember the beauty of the Porter Cable is that it is pretty much idiot proof. You cant really hurt the paint unless you go yellow pad with Power Gloss applying lots of pressure (did that on my Mirror). If you work up the ladder applying less pressure you will do fine. While it is good to keep your pad misted and the Porter Cable moving it is pretty idiot proof to burn the paint.
4) Sealant Application
Items Used: Blue Pad, Water in Spray Bottle, Microfiber Towel, and Menzerna One Step Acrylic Jacket.
I again will plug the Acrylic Jacket... it is a very light corrector, polish and sealant in one bottle. It offers protection for 6 months and easy to apply and remove.
My Method:
a) Put gloves on.
b) Take Microfiber Towel and fold into a 1/4 th.
c) Mist Blue Pad and put a quarter size dab on the pad.
d) Smear into paint to reduce splatter.
e) Turn Porter Cable on to 4.5 (leave it there) and start working into large area. With this you can do large areas (hood, door, trunk etc.).
f) It is best to have someone follow behind you wiping off... or to stop after each section and wipe off if you are a loner. DONT DO THE ENTIRE CAR AND COME BACK TO WIPE OFF. You will regret it... talk about a workout. One of those learning experiences.
g) When you see it is harder to wipe off (greasy streaks in paint) turn you towel over to a clean 1/4 side and wipe off. It should come of quickly.
Stand back and admire your work!
With clay, paint correction on the entire car and sealant expect to spend 4-6 hours.
After your initial paint correction and if you do a good job of using the two bucket method of washing on subsequent washings you should very little paint correction needed. In other words you can clay and use the One Step Acrylic Jacket and come in under an hour!
Some other tips:
Never dry Microfiber Towels with fabric softener... for some reason this makes them stiff... go figure.
Clean pads after use... I also recommend Zippy Pad Cleaner. You can buy it off of Auto Geek or any other detail site. It really helps to wash and condition the pads.
************************************************** *************************
Now the pictures:
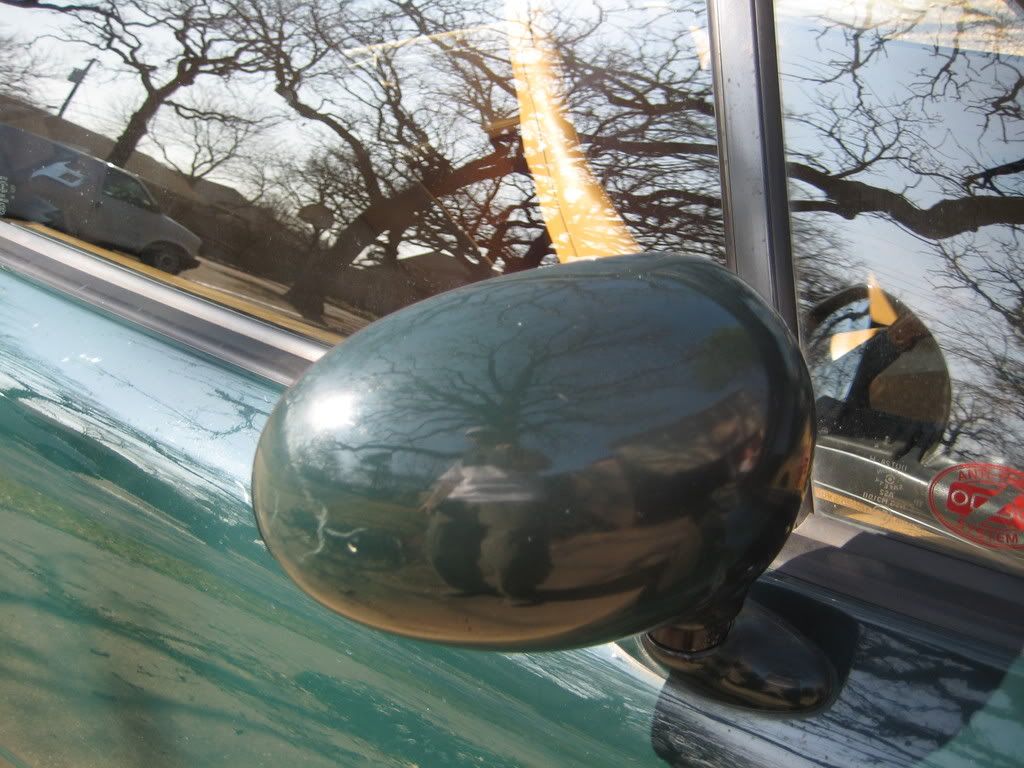
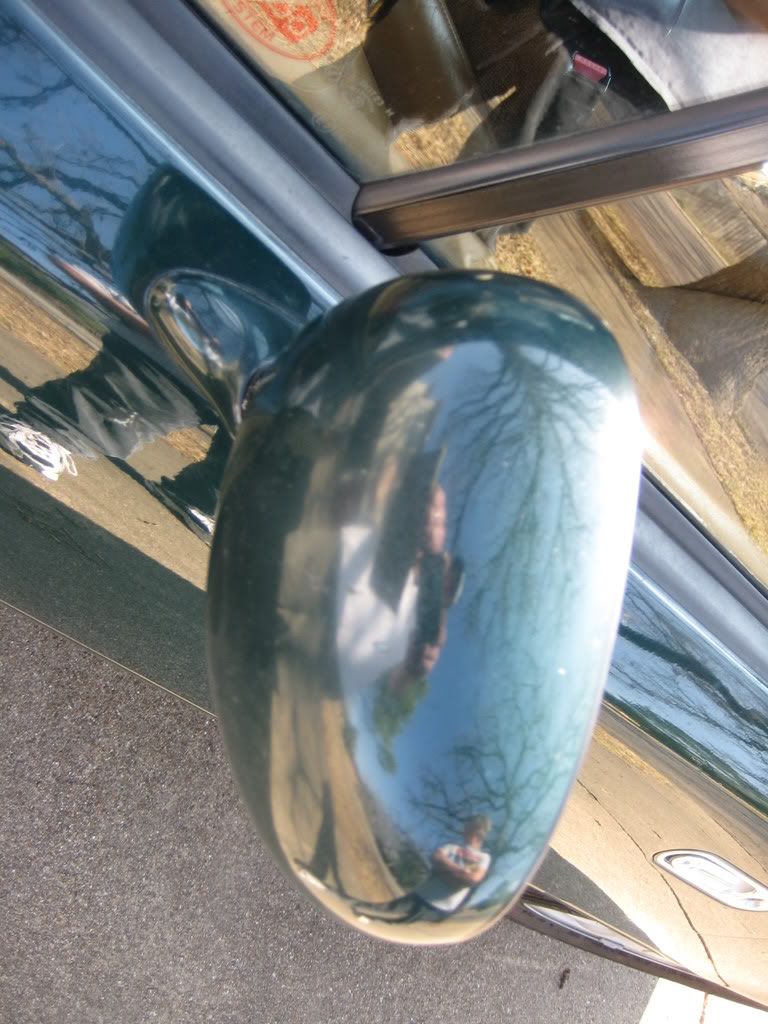
Before Passenger Mirror
After Passenger Mirror
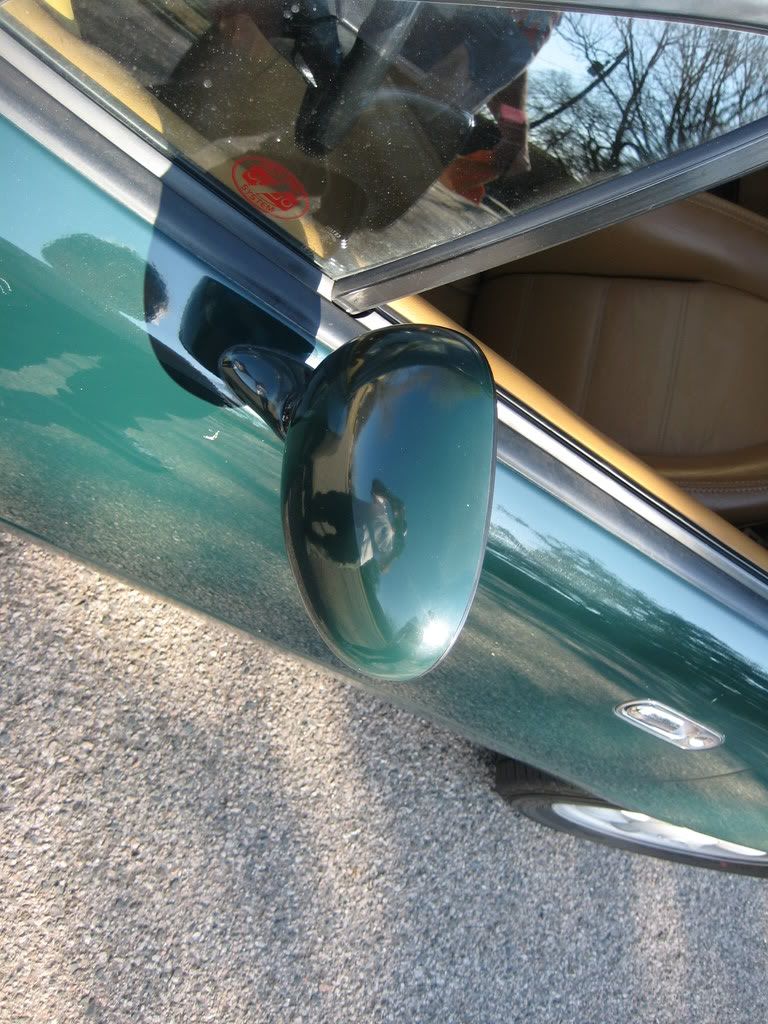
Before Drivers Mirror
After Drivers Mirror
Last edited by XM_Rocks; 02-25-2008 at 08:26 AM.
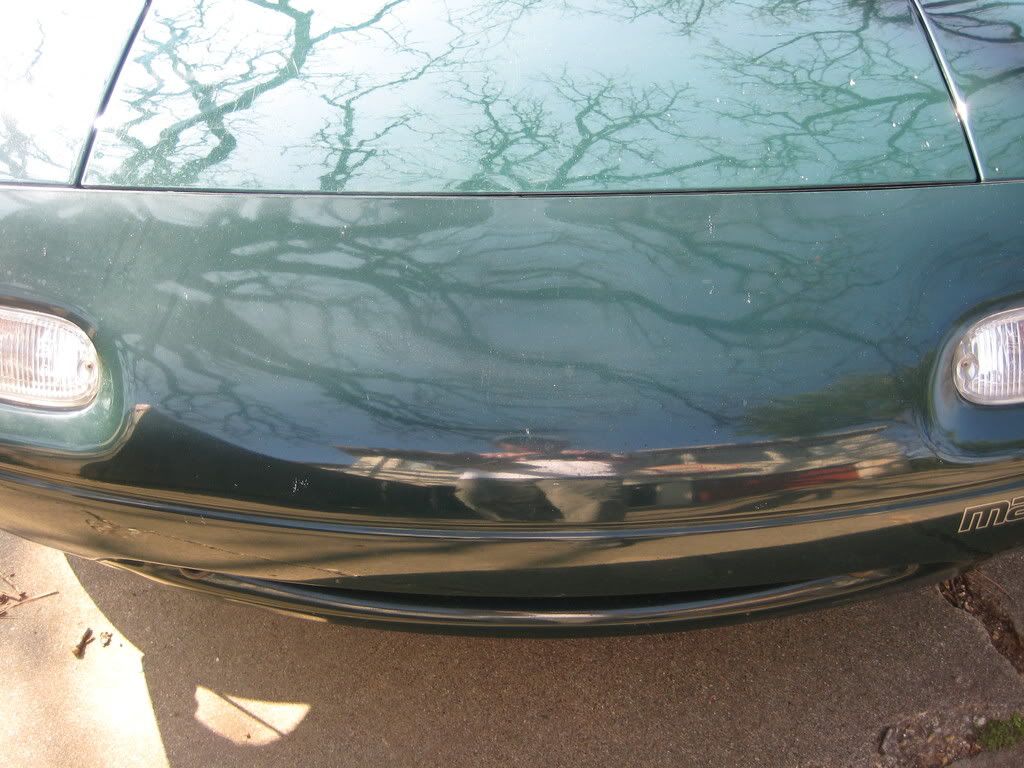
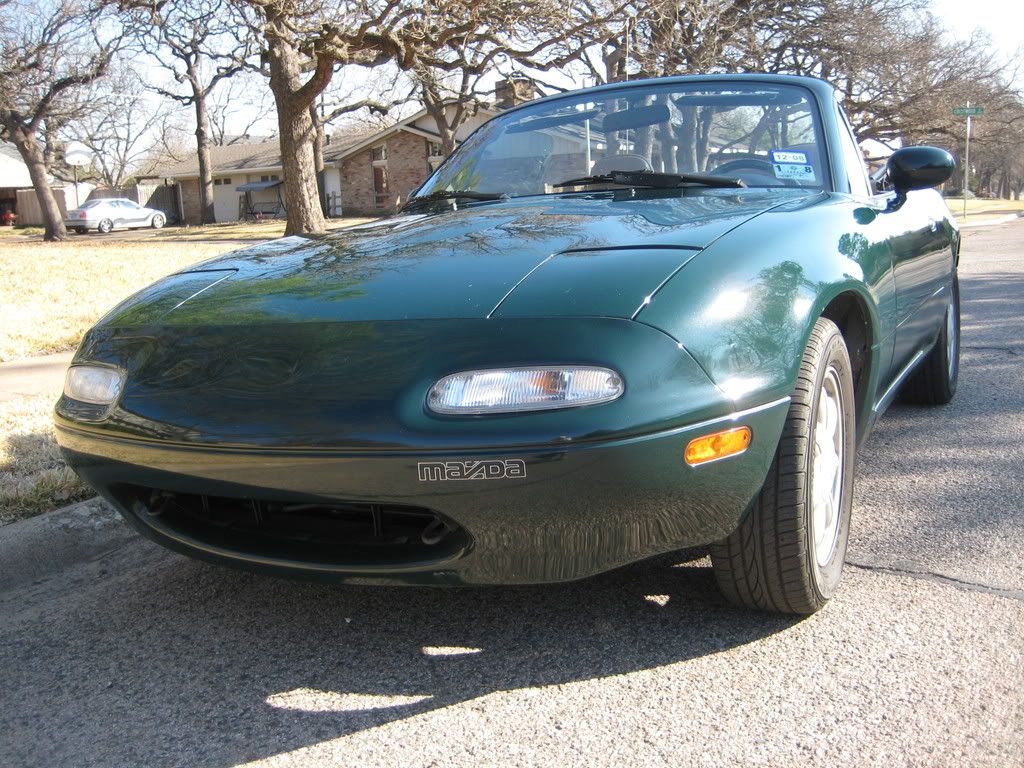
Before Nose
After Nose
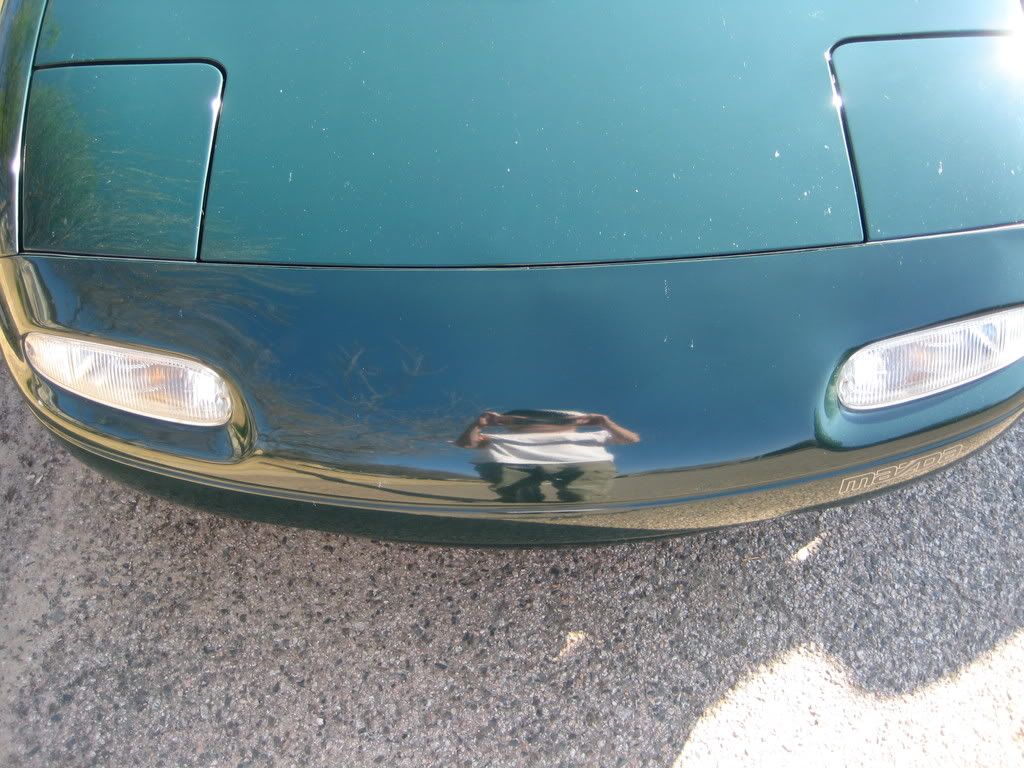
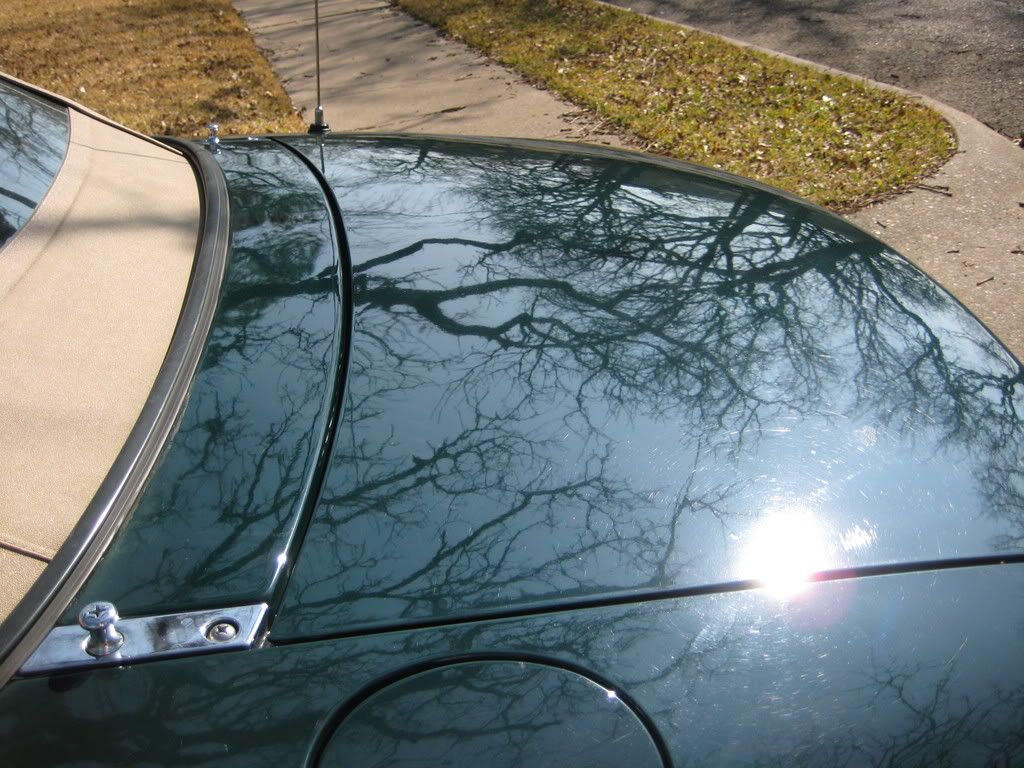
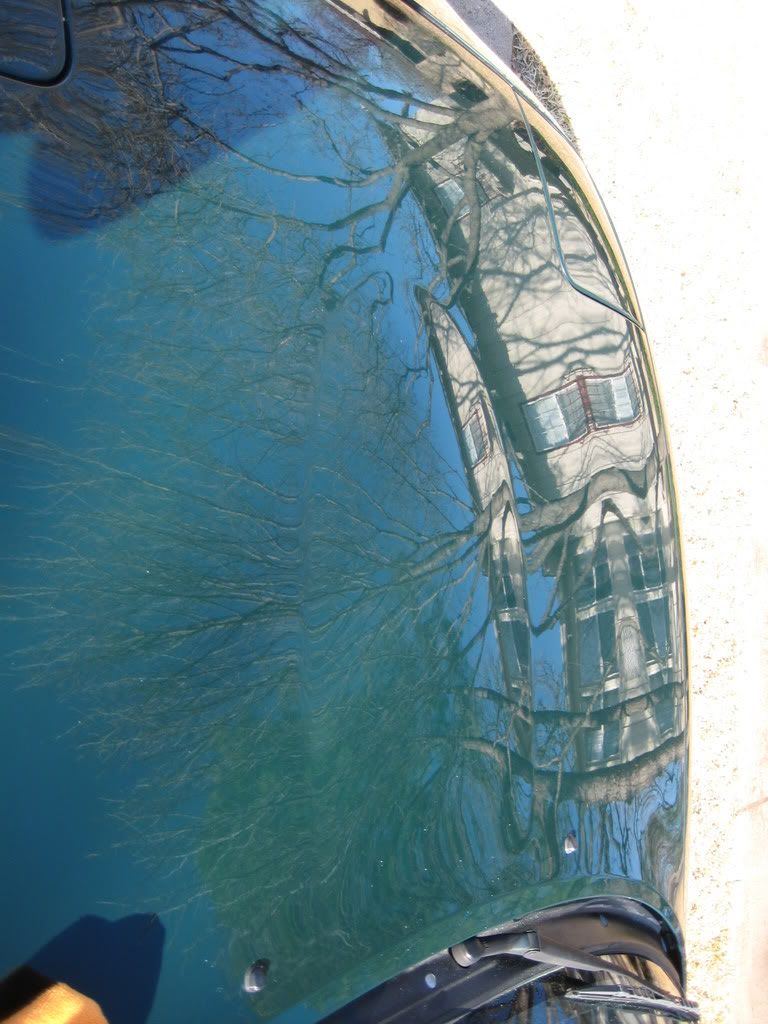
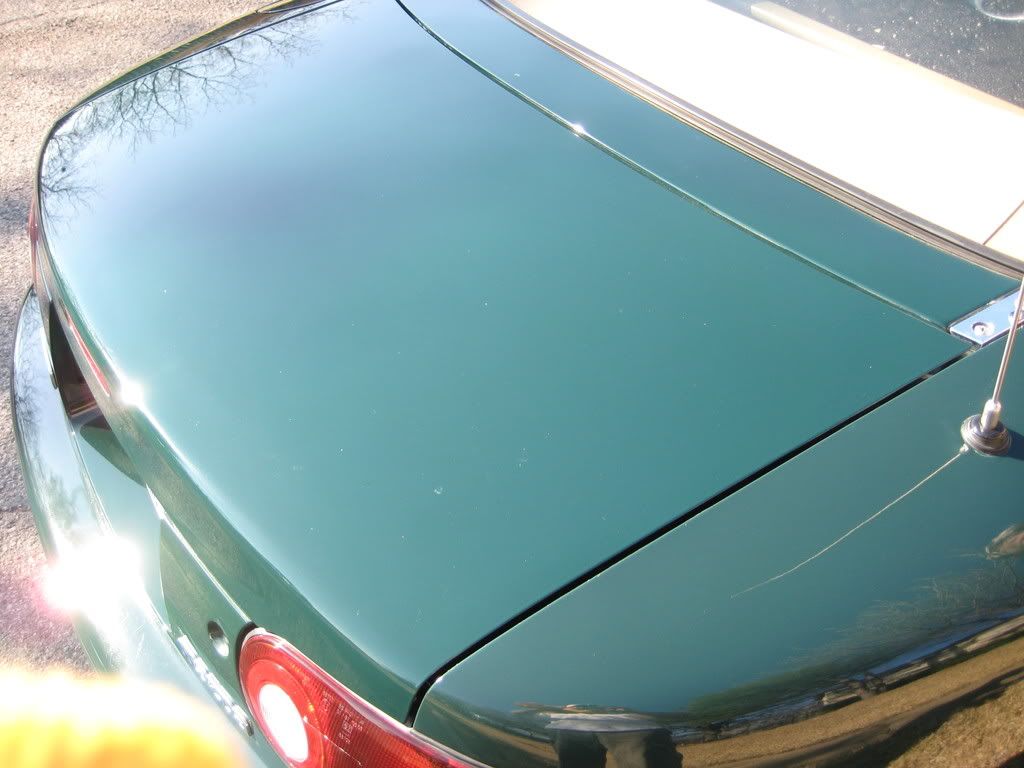
Before Hood
After Hood
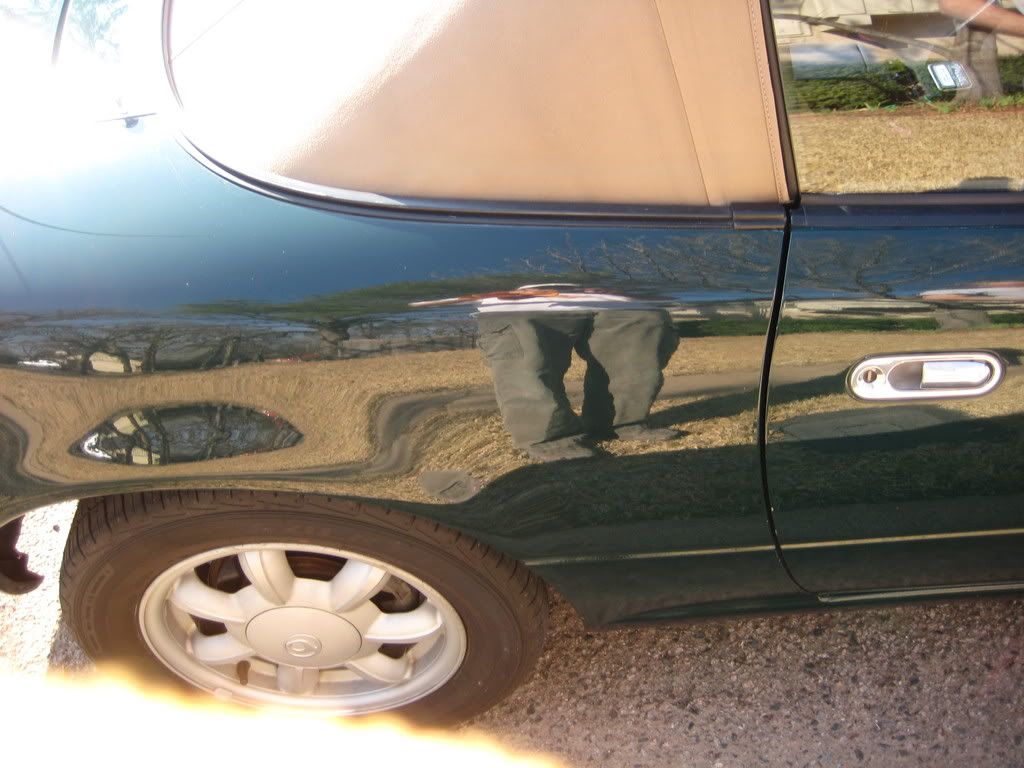
Before Rear Bumper
After Rear Bumper
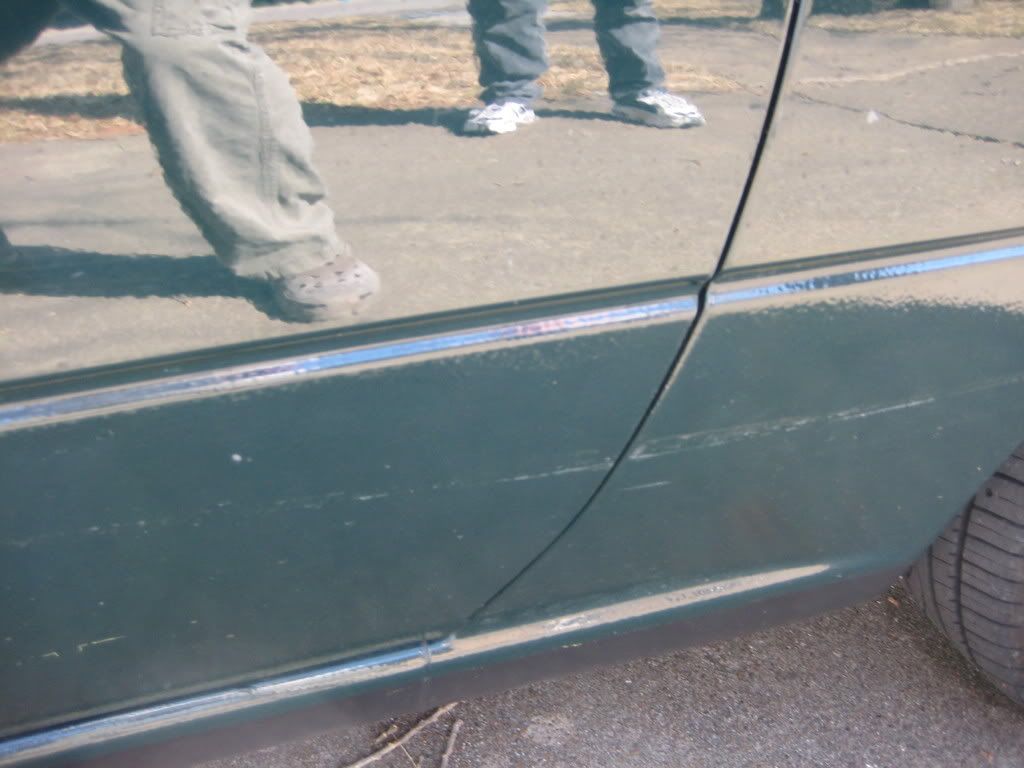
Before Drivers Side Rocker
After Drivers Side Rocker

Before Passenger Side Rear Door
After Passenger Side Rear Door
Trunk Before
Trunk After
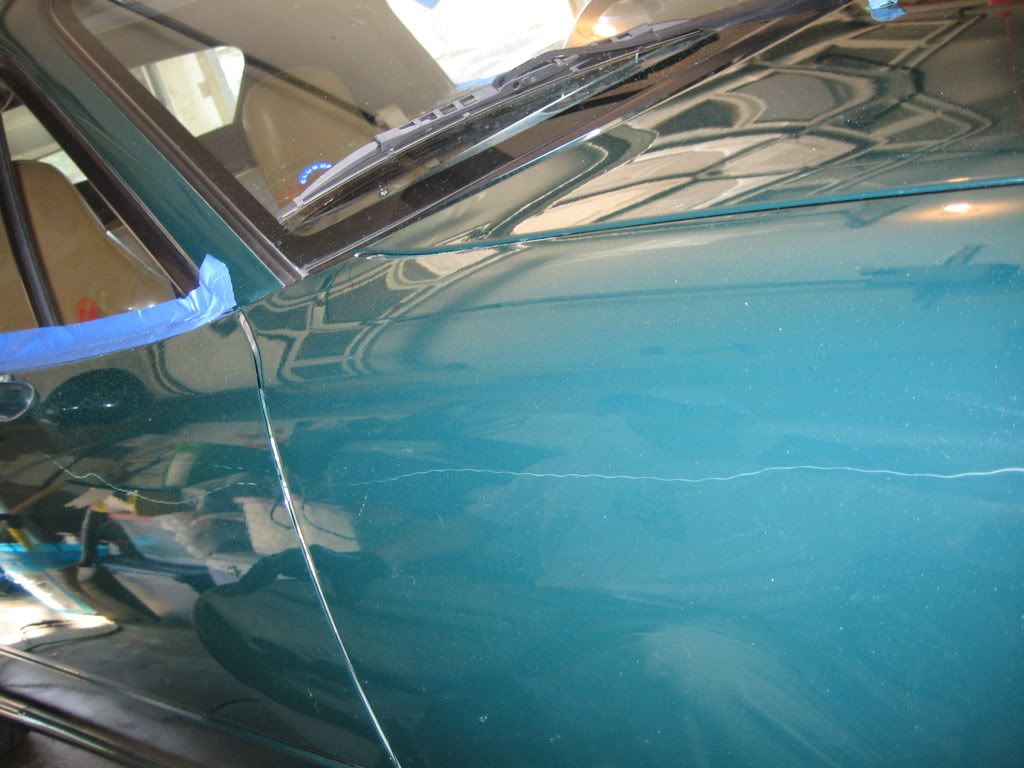
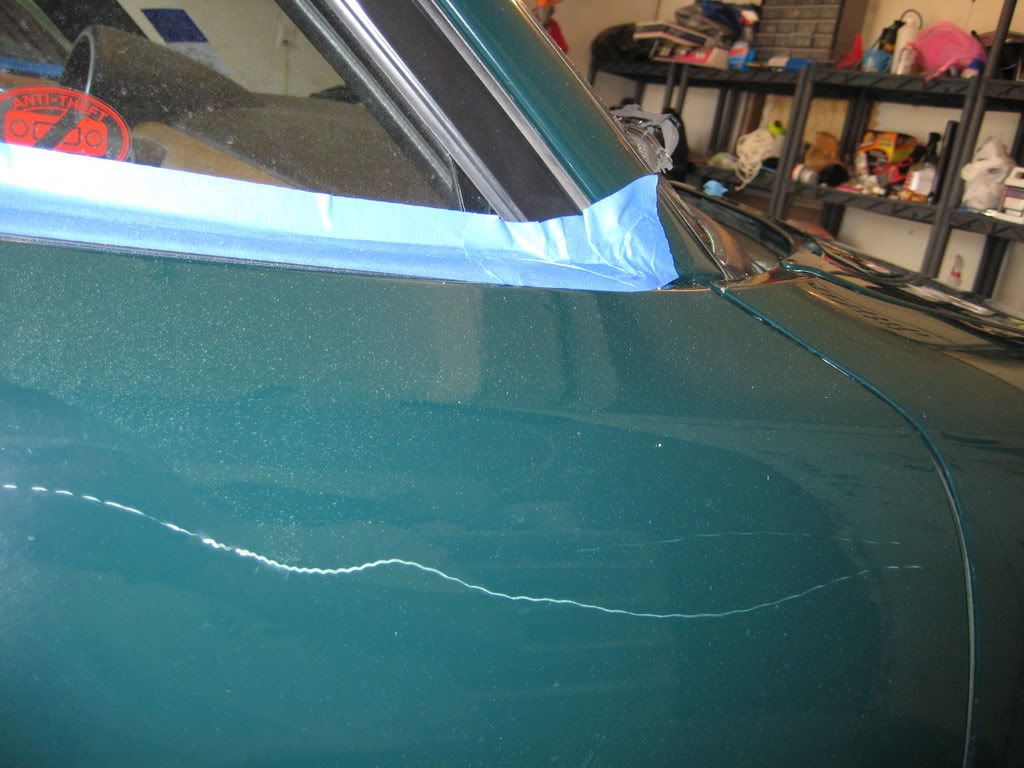
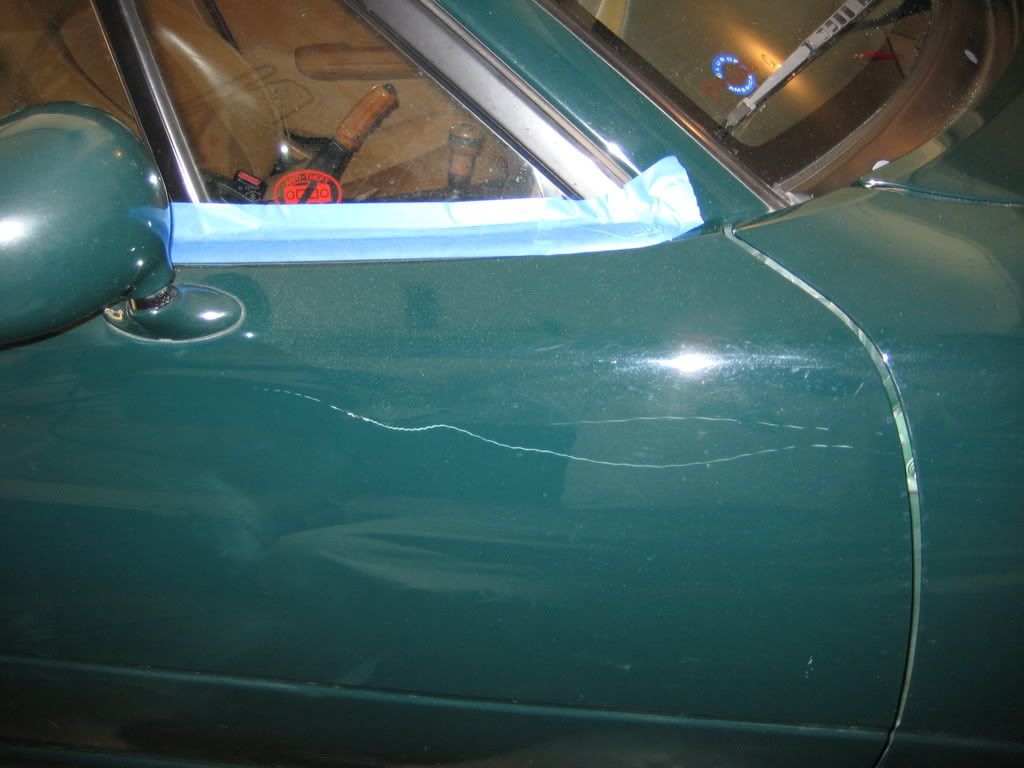
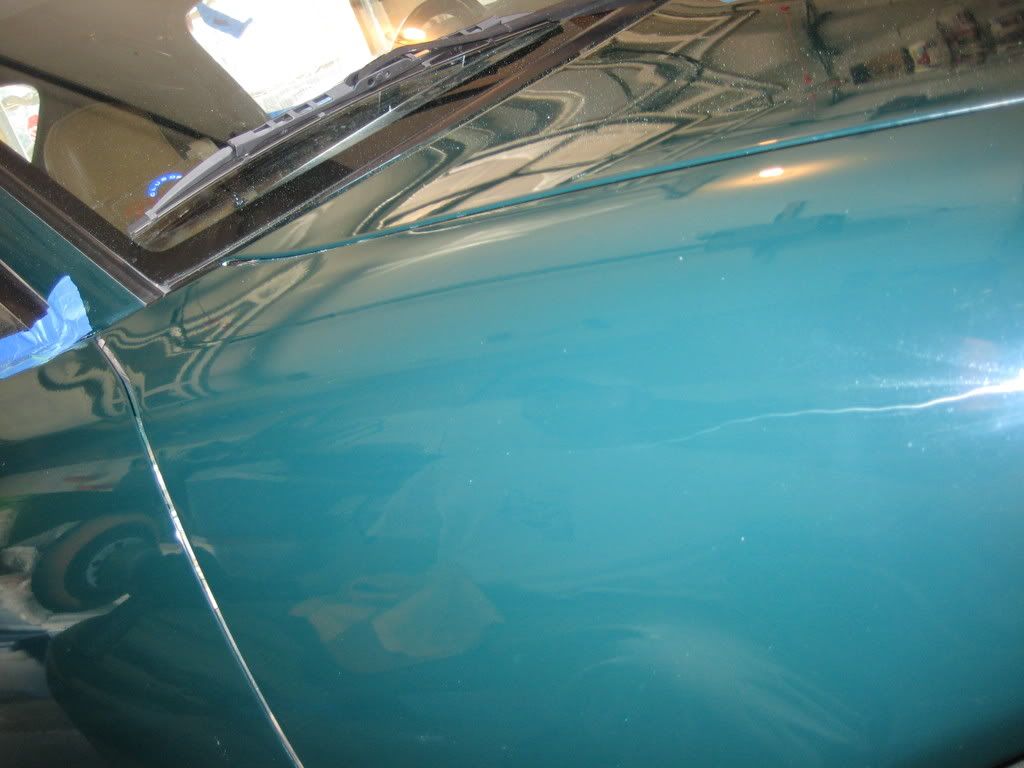
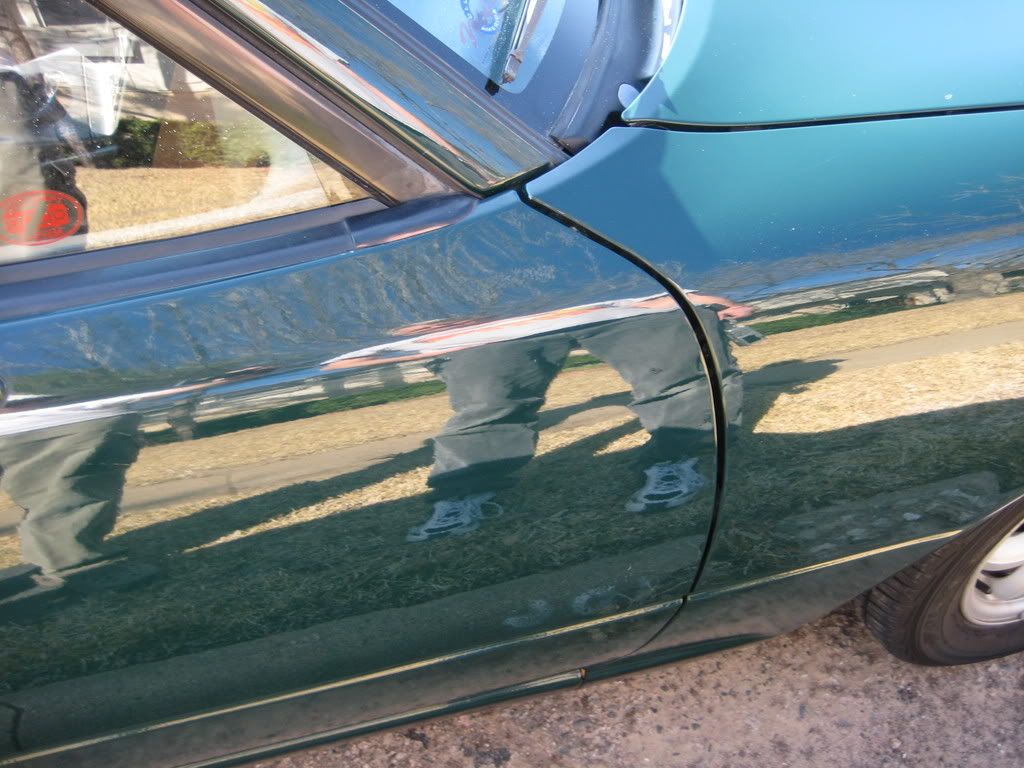
Passenger Side Scratch Before - Multiple
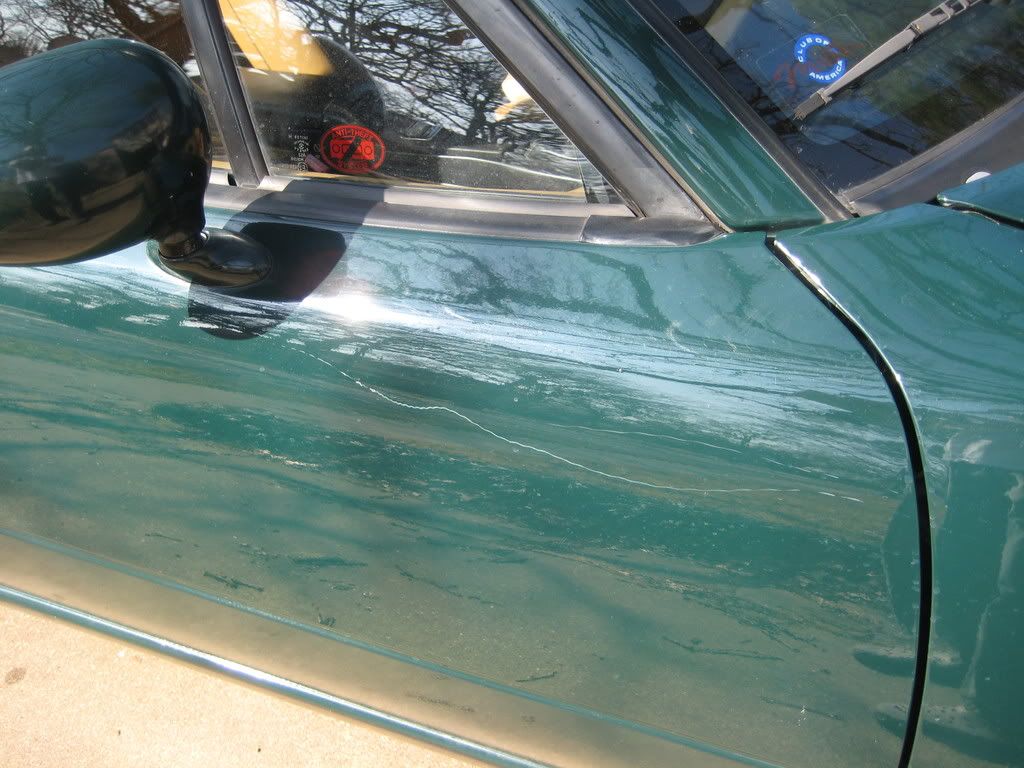
Passenger Side Scratch During - Notice the scratch is gone in the middle!
Passenger Side Scratch After - Multiple
Last edited by XM_Rocks; 02-24-2008 at 05:52 PM.
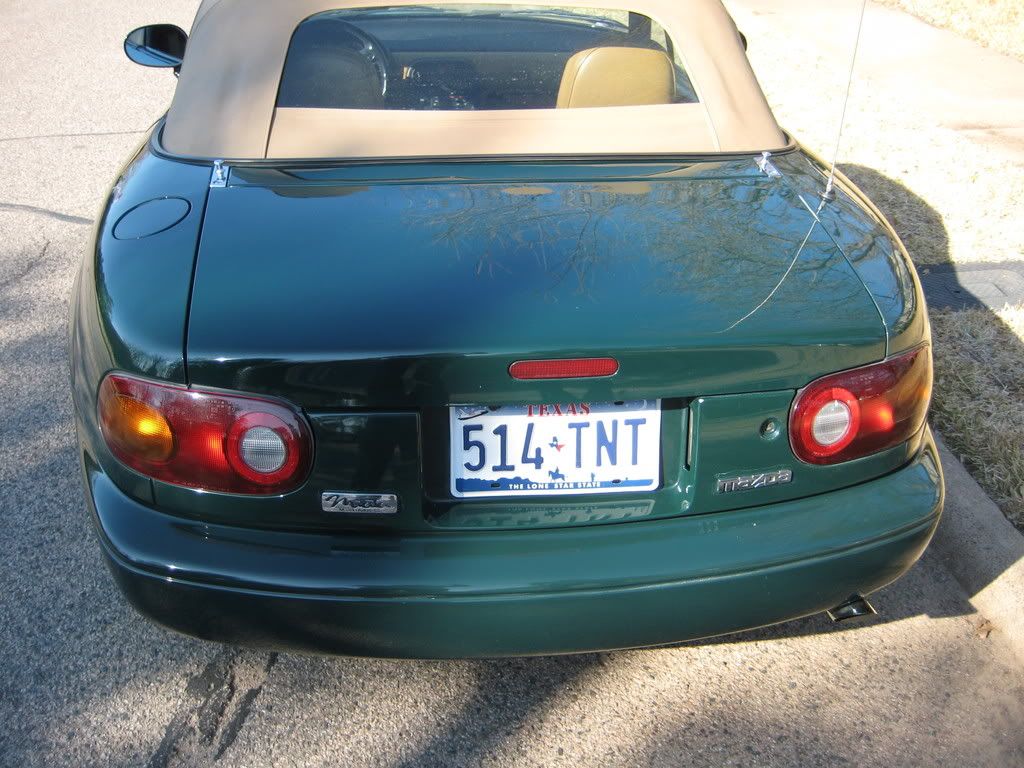
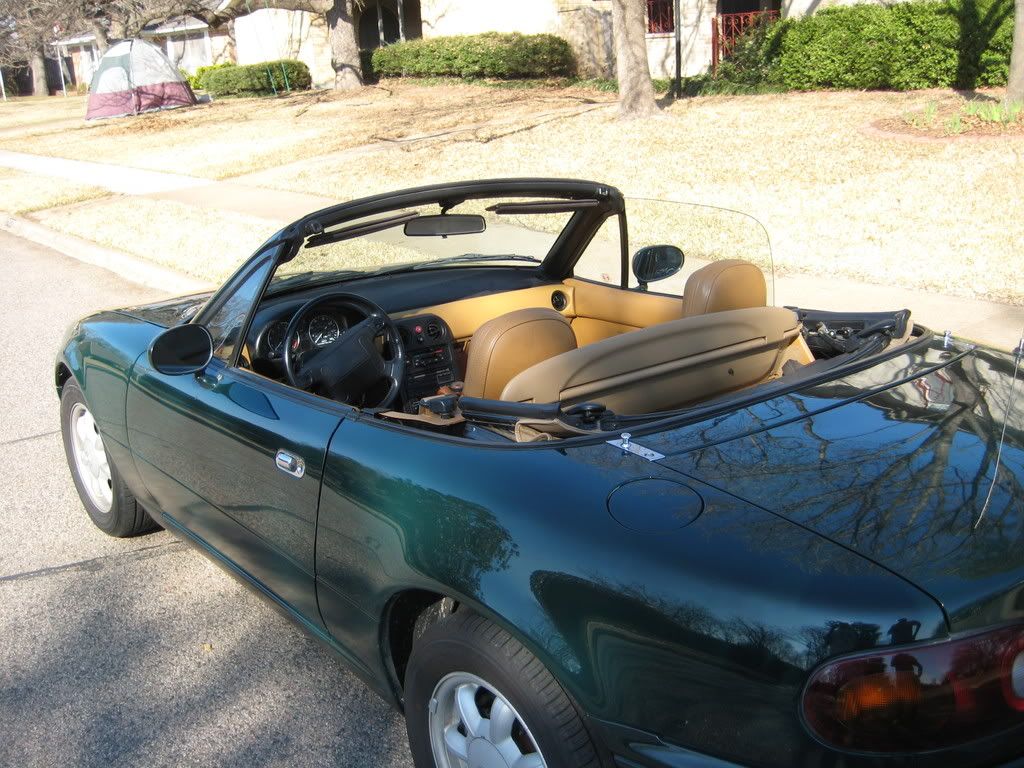
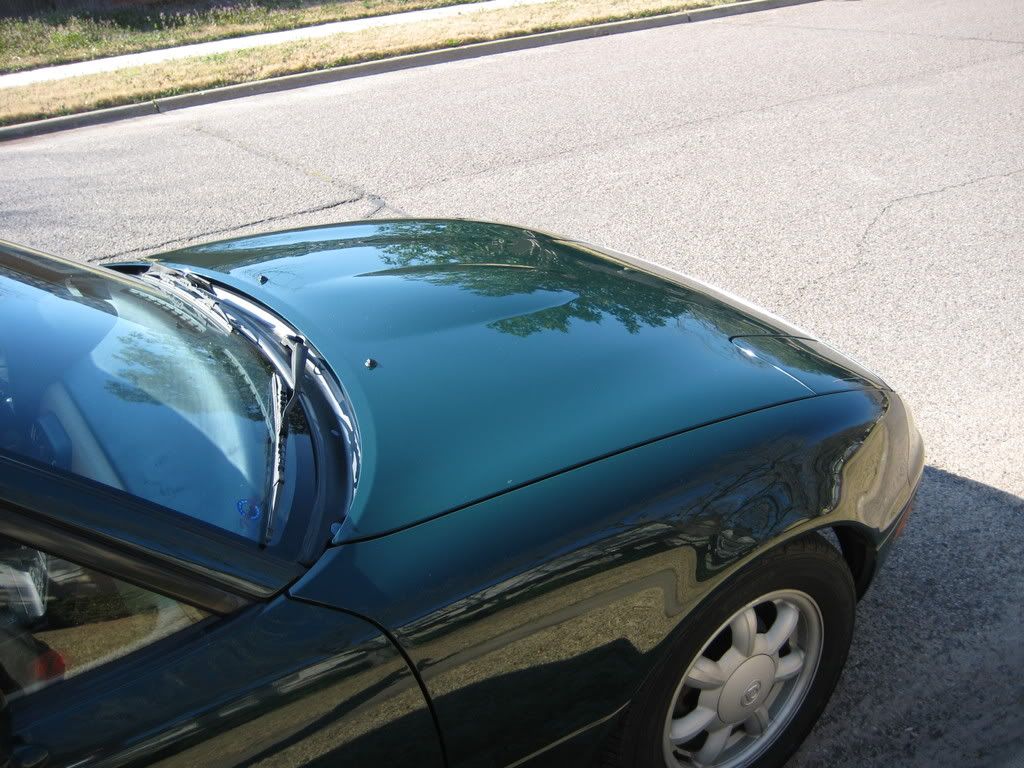
Some Random After Shots
How about a breakdown on what you used to get the great results!
Awesome!
Thomas
V-to-the-Dub
Last edited by XM_Rocks; 02-25-2008 at 08:22 AM.

Great job and results!Thanks for the details.
You should have to have seen this car before Steve Baker's PDR treatment and XM_Rocks detailing skills today to believe the difference. It was a real beater before. My neighbor came over today to look at the new Miata, & couldn't believe it was 17 years old.
Thanks XM for the great finish and PC training! I'm still amazed how that big long keyscratch came out.
An added plus is that it ran so much better on the way home, picked up an extra 5hp!!!
Last edited by cam76034; 02-24-2008 at 07:41 PM.
So.... you're going to come do my Integra now, and get rid of the orange peel on the Miata, right?
09 Lexus RX350
.... no Miata
I thought POS Racing was going to take care of that.Originally Posted by MadMonkey

Well, if you insist
I actually feel like working on cars right now... why don't we set up another tech day? I don't really have anything desperately needed besides the Teg paint, but I'm sure somebody does. Well... I do need to install my black carpet like I keep saying I'm going to do
Sorry I missed the autocross today, but I was out doing re-maiden flights on 3 different planes (one mine, 2 for other guys). I'm going to start coming in March
09 Lexus RX350
.... no Miata
I remember March, she always came before April.
I put a detailed DIY in the 1st post.
Now a sticky! Great write-up XM_Rocks!
http://forums.dfwmiata.com/showthread.php?t=11432
 Posting Permissions