Reply With Quote
thanks, i appreciate it...Originally Posted by XM_Rocks


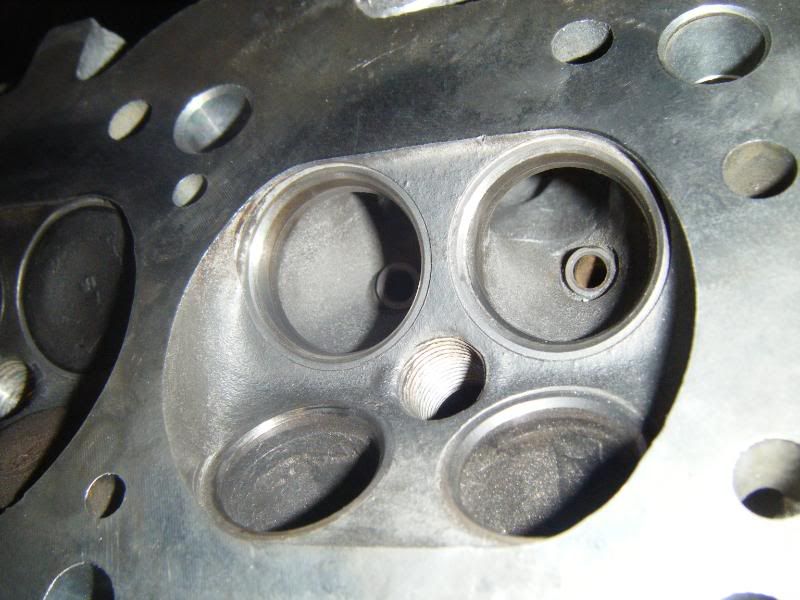
i polished my cylinder head with my dremmel...
Last edited by Mouglie; 09-02-2008 at 08:36 PM.
10/30/06 - 93' black primered MX5 1.6L
Wiseco Pistons 9:1, Carrillo Rods, ARP head and main bolts, FM valves +1mm and stiffer springs, new lifters, main bearings, cometic head gasket, port and polish head, ready for boost....
thanks, i appreciate it...
10/30/06 - 93' black primered MX5 1.6L
Wiseco Pistons 9:1, Carrillo Rods, ARP head and main bolts, FM valves +1mm and stiffer springs, new lifters, main bearings, cometic head gasket, port and polish head, ready for boost....
the guy at the machine shop told me not to polish it too clean or the fuel would stick to the walls and drip... i think this is BS....
what works best, a finish at 400 grit, or a 1000 grit plus the polishing compound?
I'm going with the full polish unless anyone has some good facts to prove otherwise...
10/30/06 - 93' black primered MX5 1.6L
Wiseco Pistons 9:1, Carrillo Rods, ARP head and main bolts, FM valves +1mm and stiffer springs, new lifters, main bearings, cometic head gasket, port and polish head, ready for boost....
You want it to be smooth, but a full mirror finish is excessive. Slight turbulence in the air flow is desirable as it will promote fuel atomization.
Also, the time and effort it will take for a full polish is not worth the possible gains you might get. The law of diminishing returns will own you. I'd say there is not much point going past 600 grit.
Furthermore, are you tearing apart the head? If you just clean up the runners as far as you can reach from one side, then there is still the whole untouched area right before the valve. In order to achieve the smoothest flow into the combustion chamber, I would want to make sure the last few mm's have recieved the same treatment as the previous few cm.
That's just me though.
Last edited by Nexus Flux; 09-02-2008 at 10:21 PM.
'06 RSX Type-S NBP
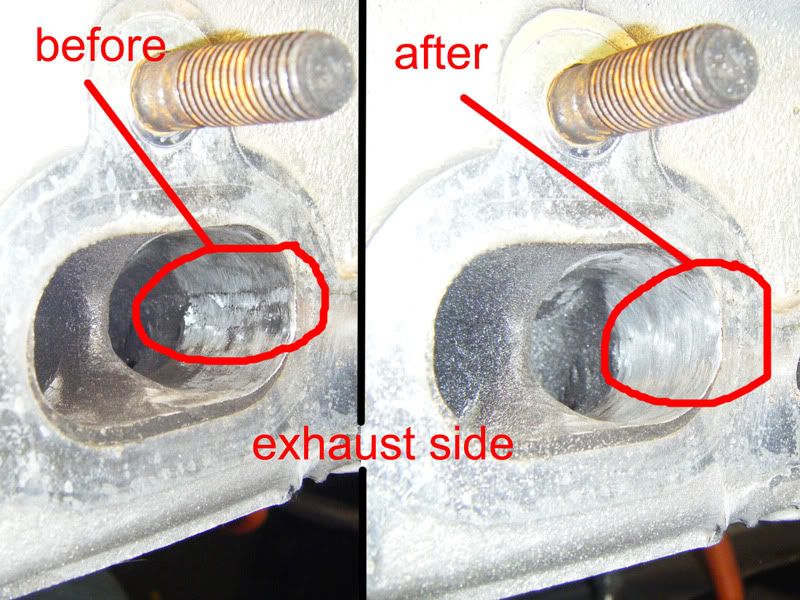
That's standard advice for the intake path. Don't polish it too much. You can go nuts and polish the exhaust all you want.
This is exactly the information i was looking for, i think i'm currently on 320 in some areas... does not show in pic... thanks...
i don't know if i mentioned but the holes for the valves will be ported 1mm bigger to accomodate the FM valves. The head is completely disassembled until i finish this polishing, then the machine shop will do the rest... saved me money...
600 grit paper for the intake side, check...
1200 grit for exhaust side, check...
Polishing compound and polish wheel, check...
Bag of nuts...
i'll post pics of the crazy polishing i do on the exhaust side...
10/30/06 - 93' black primered MX5 1.6L
Wiseco Pistons 9:1, Carrillo Rods, ARP head and main bolts, FM valves +1mm and stiffer springs, new lifters, main bearings, cometic head gasket, port and polish head, ready for boost....
meanwhile the engine is at the shop, i took the time to create something else... (i know i should finish one thing first before moving on to the other)
well i wish i could illustrate all the steps as to how i made this but i'm short on
time so here are some pics...
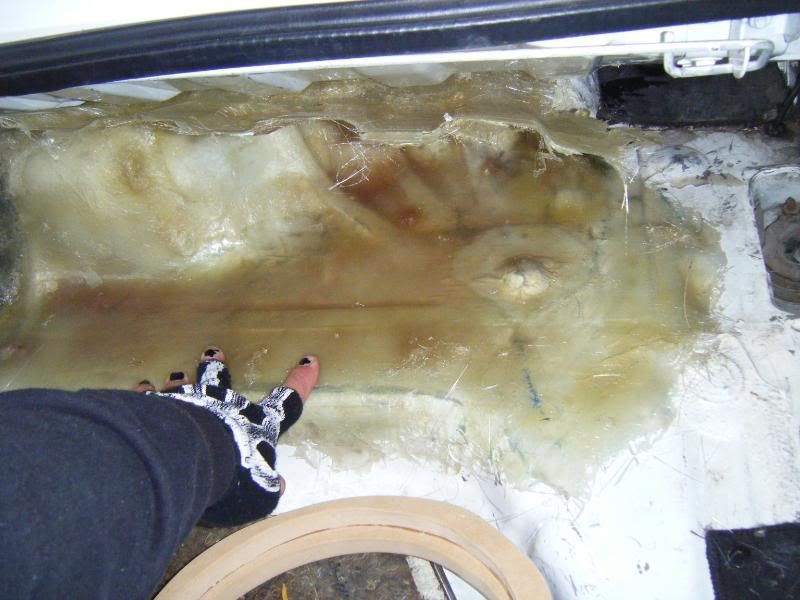
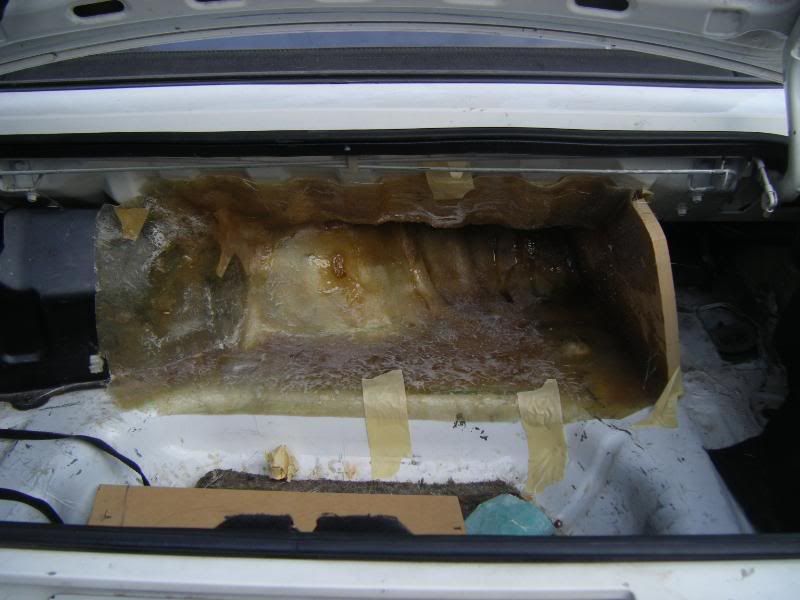
FG speaker box enclosure:
i used masking tape to cover the area of the trunk where i wanted my enclosure
to go, then glassed over it a few layers.
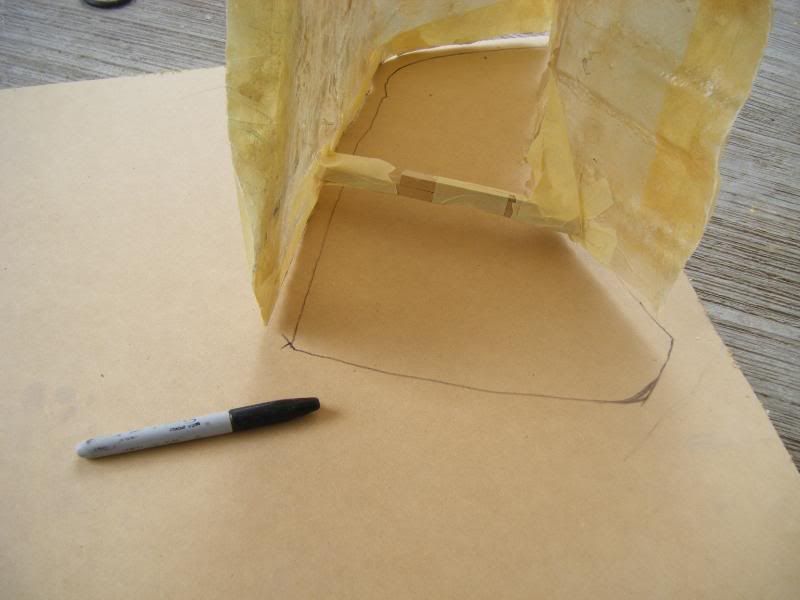
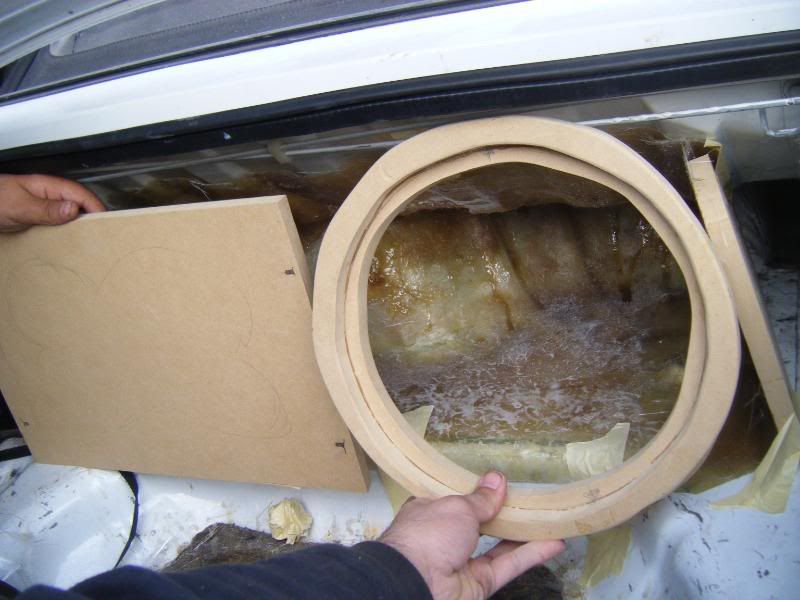
a pieceof MDF wood to cover the side for this enclosure,
i will also cut a hole here for the speaker wire connection.
put it together with masking tape...
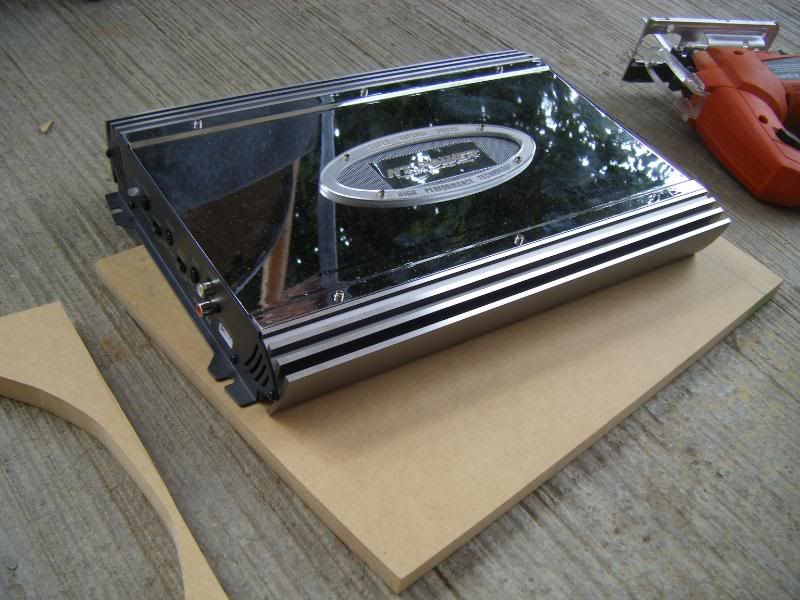
amplifier
10/30/06 - 93' black primered MX5 1.6L
Wiseco Pistons 9:1, Carrillo Rods, ARP head and main bolts, FM valves +1mm and stiffer springs, new lifters, main bearings, cometic head gasket, port and polish head, ready for boost....
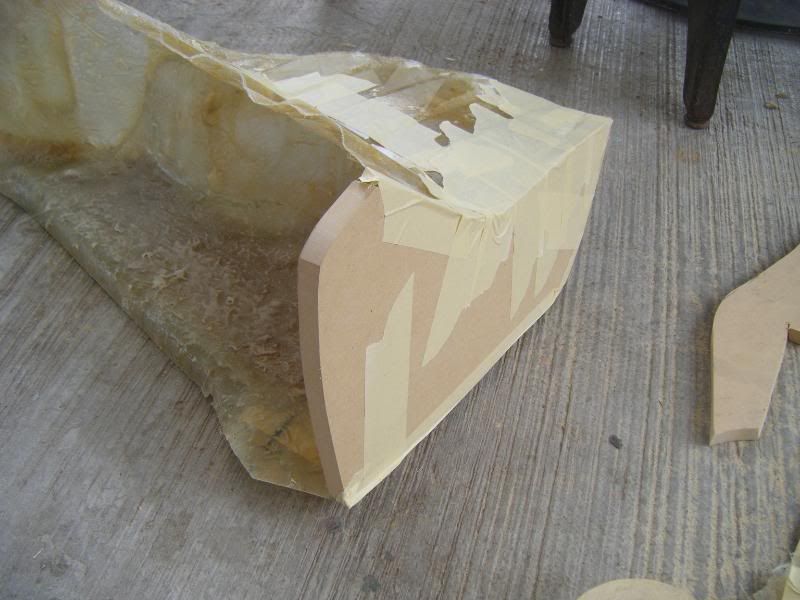
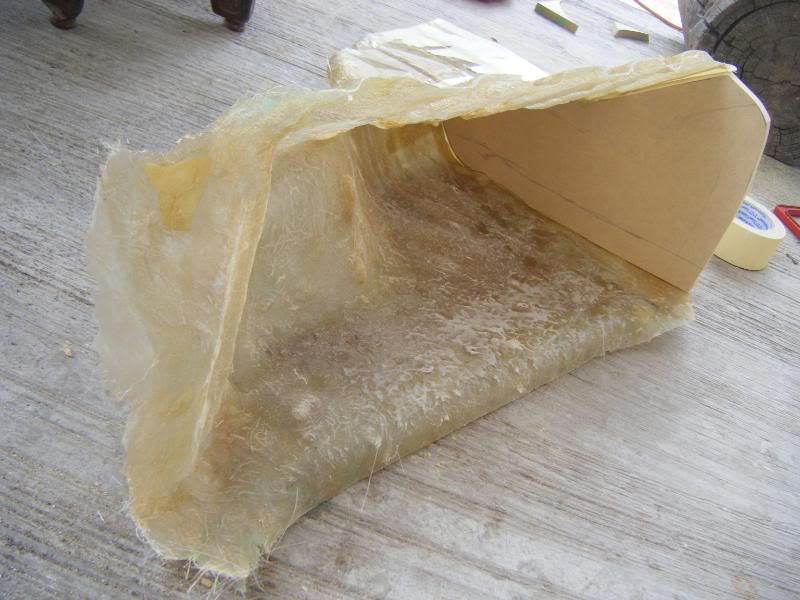
inside of speaker enclosure...
fiberglassed together...
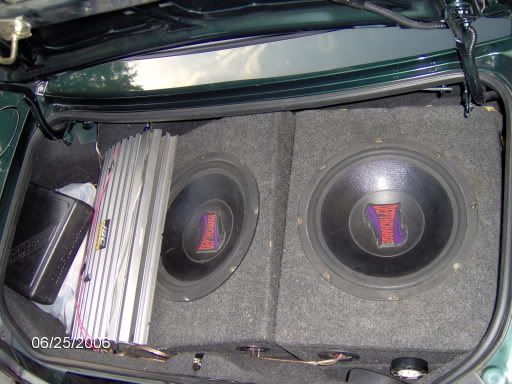
in place \
and a mock up
no more fiberglassing... its stariting to get cold up here in iowa...
went from 95F yesterday to 60f today...
10/30/06 - 93' black primered MX5 1.6L
Wiseco Pistons 9:1, Carrillo Rods, ARP head and main bolts, FM valves +1mm and stiffer springs, new lifters, main bearings, cometic head gasket, port and polish head, ready for boost....
hahaa those are some crazy rings, i know... but you won't be able to tell when i'm finished.... wwwwwwhhhheeen i finish... (whenever that is)
well its better than the old set up i used to have...
gives me a little more space...
10/30/06 - 93' black primered MX5 1.6L
Wiseco Pistons 9:1, Carrillo Rods, ARP head and main bolts, FM valves +1mm and stiffer springs, new lifters, main bearings, cometic head gasket, port and polish head, ready for boost....
When polishing the intake think golf ball. The small amount of turbulence along the walls actually increase flow. A smooth golf ball does fly 1/3 as long as a dimpled one.
I'm at work and could not read all of this but, loads to read here. http://www.sa-motorsports.com/diyport.aspx
Hmm what is decent? Are we talking about your decent or my decent? I'm just curious because I don't want to offend anyone else's decent...
Wow! That's a pretty, um, extensive build there...
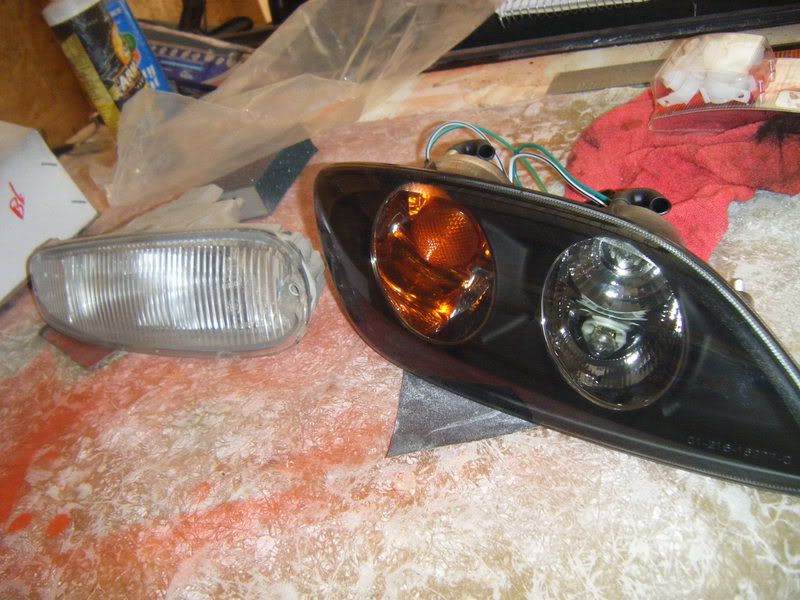
Not to back it up too much, but what's the scoop on the turn signal/headlight conversion? Is it off the shelf or custom?
'94 Black & Black & Tan
'99 head swap, JR header, TDR intake & header blanket, MegaSquirt, RB hollow bar, Tein Flex, 15x8 6ULs, HD M2 Sport, FM cat, Borla cat-back, black '95M interior, MOMO Zebrano, IL Motorsport console...
Dyno Days
8/16/08 (bone stock): 103.1 hp/99.0 lb-ft - Dynojet
8/23/08 (Borla cat-back): 108.2 hp/104.1 lb-ft - Dynojet
8/13/11 (more stuff...): 126 hp/116 lb-ft - Mustang dyno
Roger Moore: the Danny White of James Bonds
BR - since august of last year, since then i've only been 4 times to texas.
i'll be moving back march of next year.
Ataim - thanks for that link, i didn't know that about the golf balls.
the turn signal came from an 01' rx7.
10/30/06 - 93' black primered MX5 1.6L
Wiseco Pistons 9:1, Carrillo Rods, ARP head and main bolts, FM valves +1mm and stiffer springs, new lifters, main bearings, cometic head gasket, port and polish head, ready for boost....
That's gonna look really nice! Is it a driving light/turn signal combo? Any chance that could be converted to house a set of low-pro hi/lo beams? Can't wait to see how you work it into the bumper cover...
'94 Black & Black & Tan
'99 head swap, JR header, TDR intake & header blanket, MegaSquirt, RB hollow bar, Tein Flex, 15x8 6ULs, HD M2 Sport, FM cat, Borla cat-back, black '95M interior, MOMO Zebrano, IL Motorsport console...
Dyno Days
8/16/08 (bone stock): 103.1 hp/99.0 lb-ft - Dynojet
8/23/08 (Borla cat-back): 108.2 hp/104.1 lb-ft - Dynojet
8/13/11 (more stuff...): 126 hp/116 lb-ft - Mustang dyno
Roger Moore: the Danny White of James Bonds
thats what i've been told and what i will use it as.
you would have to heat it up and take it apart, remove the amber plastic and install the lightbulbs.
you can find this housing on ebay for $80 bucks shipped if you wanna try it, lol...
as far as working this into my bumper cover, its gonna be way different than that. i want them to be on the car whether i have a bumper cover or not. Someday the whole front of my car will be a removable one piece, lol...
i would work on it this week but i already have plans to finish my cylinder head and to work on the rear fenders...
10/30/06 - 93' black primered MX5 1.6L
Wiseco Pistons 9:1, Carrillo Rods, ARP head and main bolts, FM valves +1mm and stiffer springs, new lifters, main bearings, cometic head gasket, port and polish head, ready for boost....
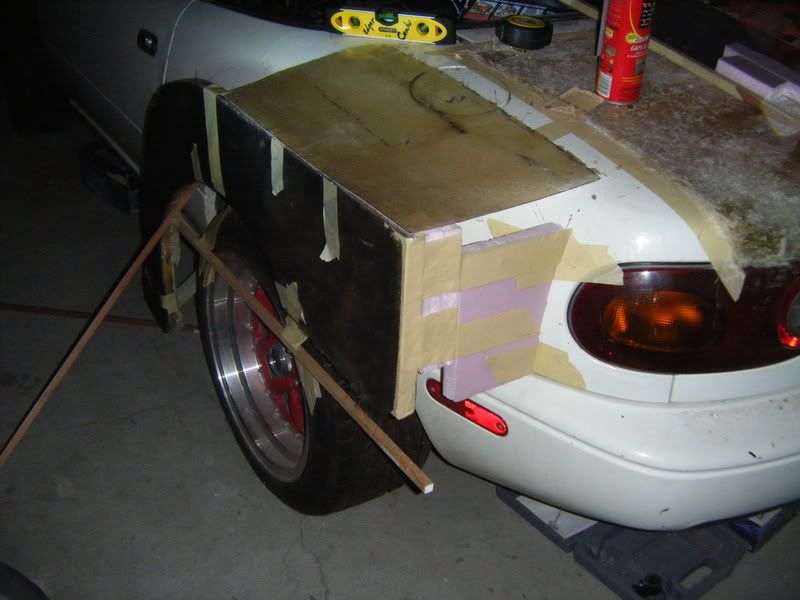
i may have shot myself in the foot wanting my fender to align parallel with my wheel... seems like there will be a big gap/square next to my tail ligts...(the pink area)
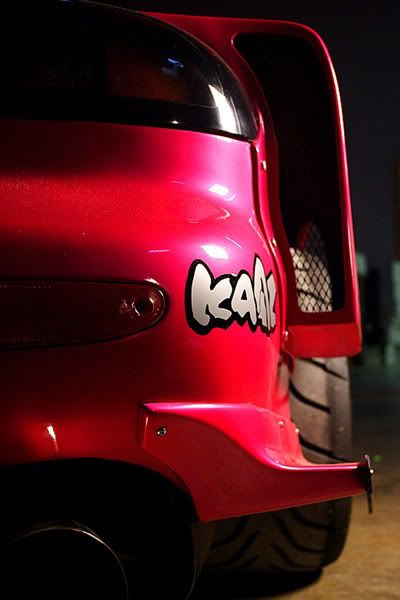
originally i intended to go about half of that, like the picture below,
but if i do that the fender won't be aligned...
i'll have to make some changes to this fender idea cause it looks too big...
also tomorrow i'll have an update on the cylinder head.
10/30/06 - 93' black primered MX5 1.6L
Wiseco Pistons 9:1, Carrillo Rods, ARP head and main bolts, FM valves +1mm and stiffer springs, new lifters, main bearings, cometic head gasket, port and polish head, ready for boost....
ok no comments on the fender... moving on then...
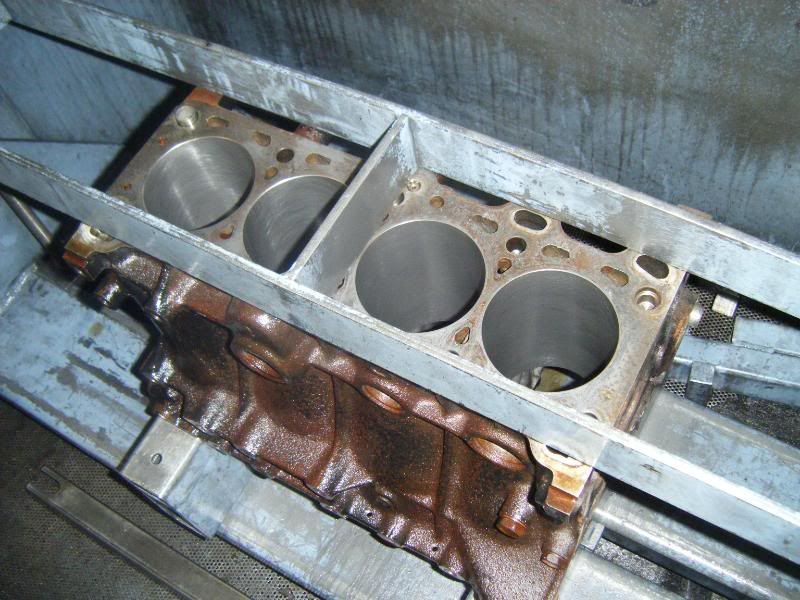
got some progress on my engine... first of all, its already bored and ready for assembly...
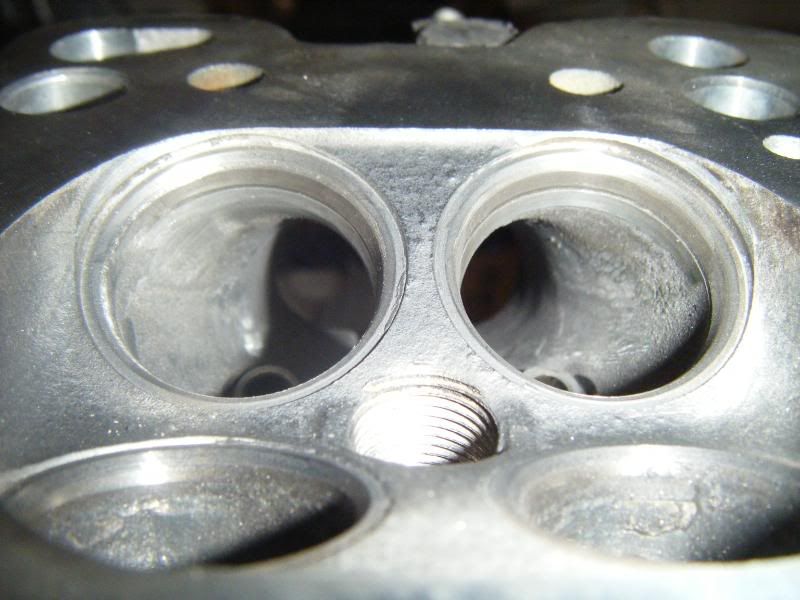
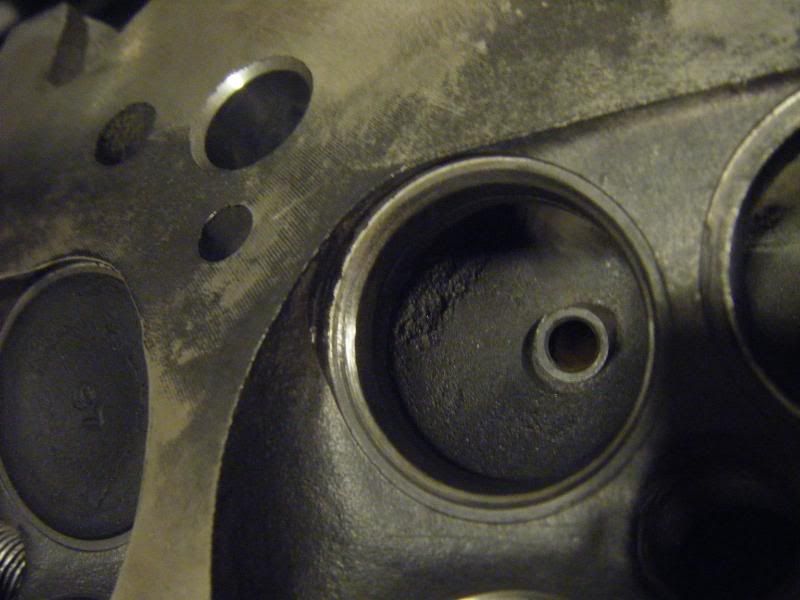
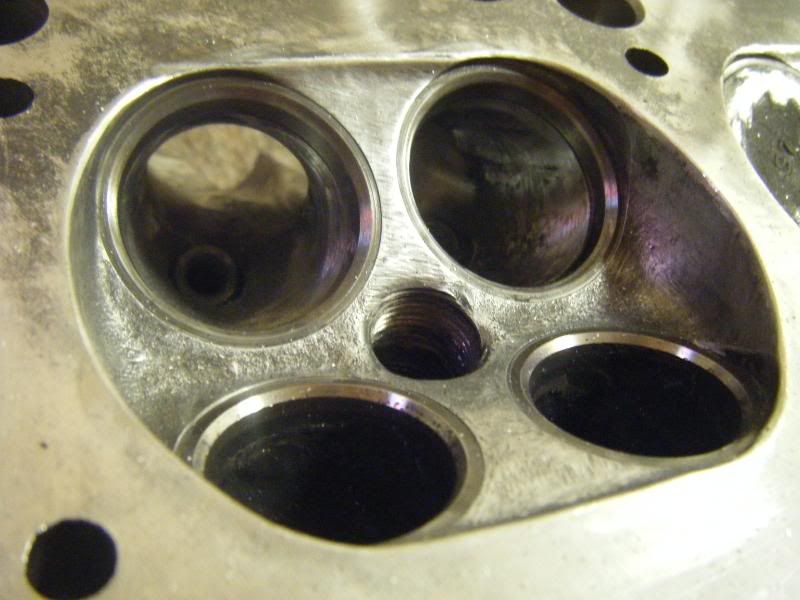
also bigger valves have been seated and i'm still porting and polishing some areas... here you can see the left has a smooth curve going to the intake side and the right side has an edge just below the valve seat area...
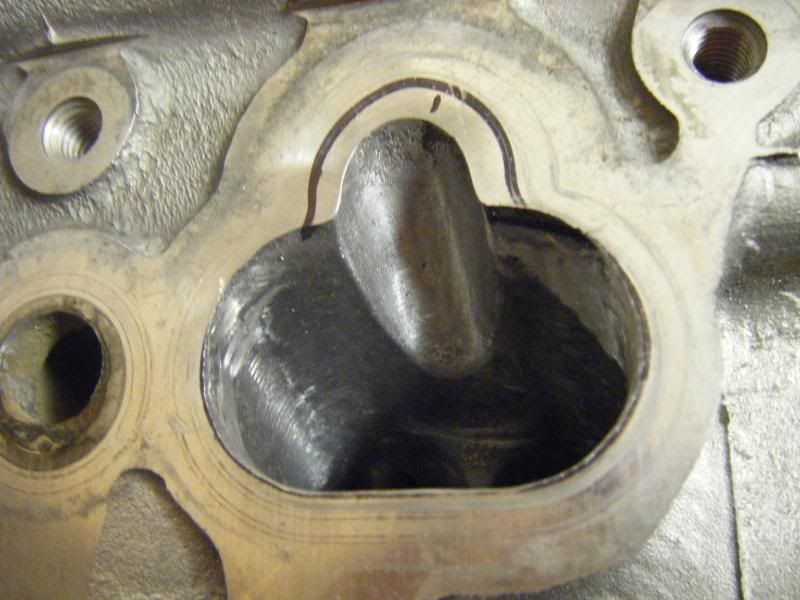
and here is a shot taken with the flash on
and the same picture taken close with no flash...
this is a perfect example of what imperfections look like
inside the engines...
10/30/06 - 93' black primered MX5 1.6L
Wiseco Pistons 9:1, Carrillo Rods, ARP head and main bolts, FM valves +1mm and stiffer springs, new lifters, main bearings, cometic head gasket, port and polish head, ready for boost....
What if you made the outer part of the fender flare behind the wheel mirror the same curve of the body of the car, instead of just going strait back?
"Racing makes heroin addiction look like a vague longing for something salty" - Peter Egan
this weekend i will glass this one in, if i don't like it i will do what you said, i'll matt two sheets together and make them follow the curves of the original fenders.
10/30/06 - 93' black primered MX5 1.6L
Wiseco Pistons 9:1, Carrillo Rods, ARP head and main bolts, FM valves +1mm and stiffer springs, new lifters, main bearings, cometic head gasket, port and polish head, ready for boost....
did a little bit of porting on the bottom side for the intake...
and smoothed out the edges
10/30/06 - 93' black primered MX5 1.6L
Wiseco Pistons 9:1, Carrillo Rods, ARP head and main bolts, FM valves +1mm and stiffer springs, new lifters, main bearings, cometic head gasket, port and polish head, ready for boost....
 Posting Permissions