Reply With Quote
Phrasing.Originally Posted by HudsonHawk


I am much happier with the tongue now. Good job.
Phrasing.
That's what she said.
Speed
––––––––––––––––?? ?––––––––––––––––? ??––––
Don't look...there's nothing down here for you!
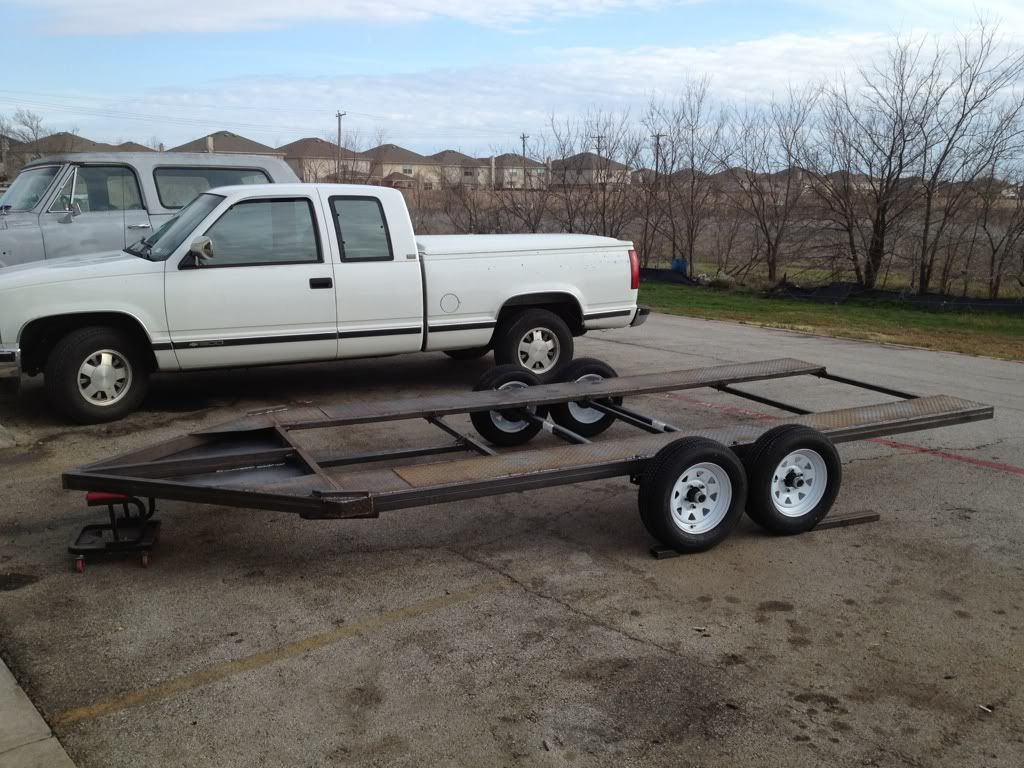
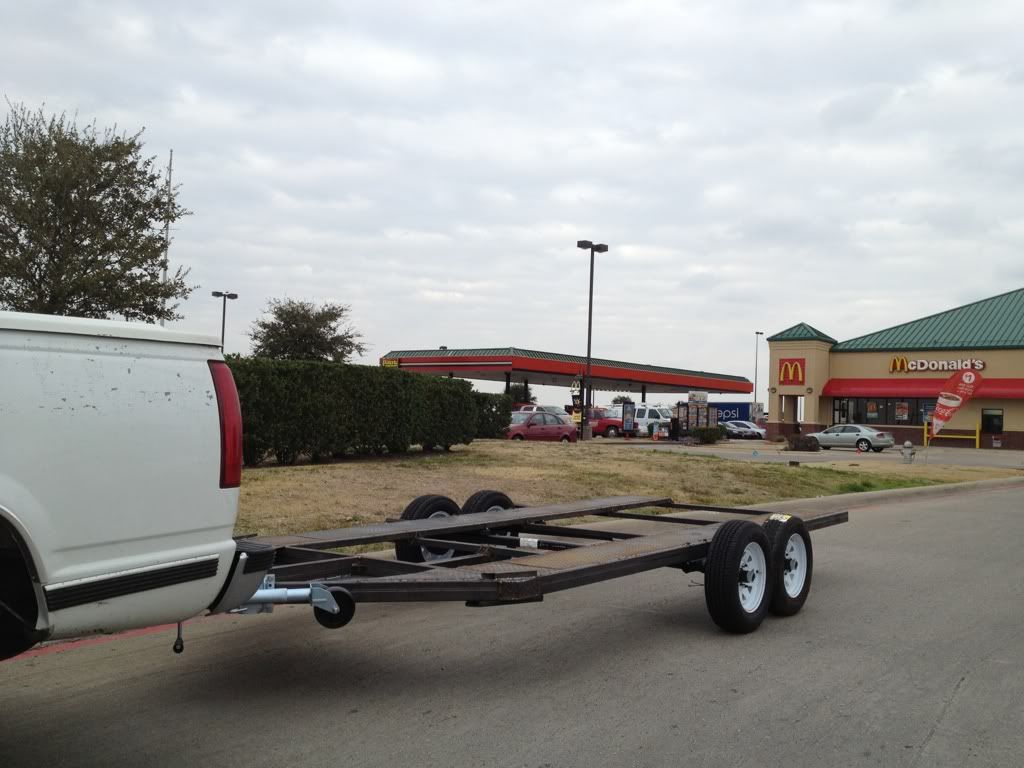
Got the axles on and lowered the trailer to the ground this morning:
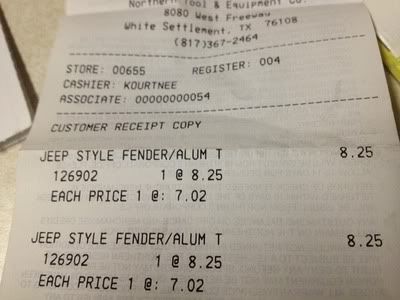
I have gone back and forth on fender ideas. Everything from making my own jeep style fenders to usiing 4 fenders and directly attaching them to the hubs. So this evening I stopped by Northern Tool to look at some in person and just happened to stumble across some aluminum jeep style fenders like this in the clearance section:
They were 5 of them all marked down from $80 to $36. All of them had some purely cosmetic blemishes in the chrome. I picked out the best pair and went to pay for them. The cashier scanned them and they came up as $8 each!!! On top of that I had a $5 off $15 coupons so I ended up getting $150 of aluminium fenders for $11!!!
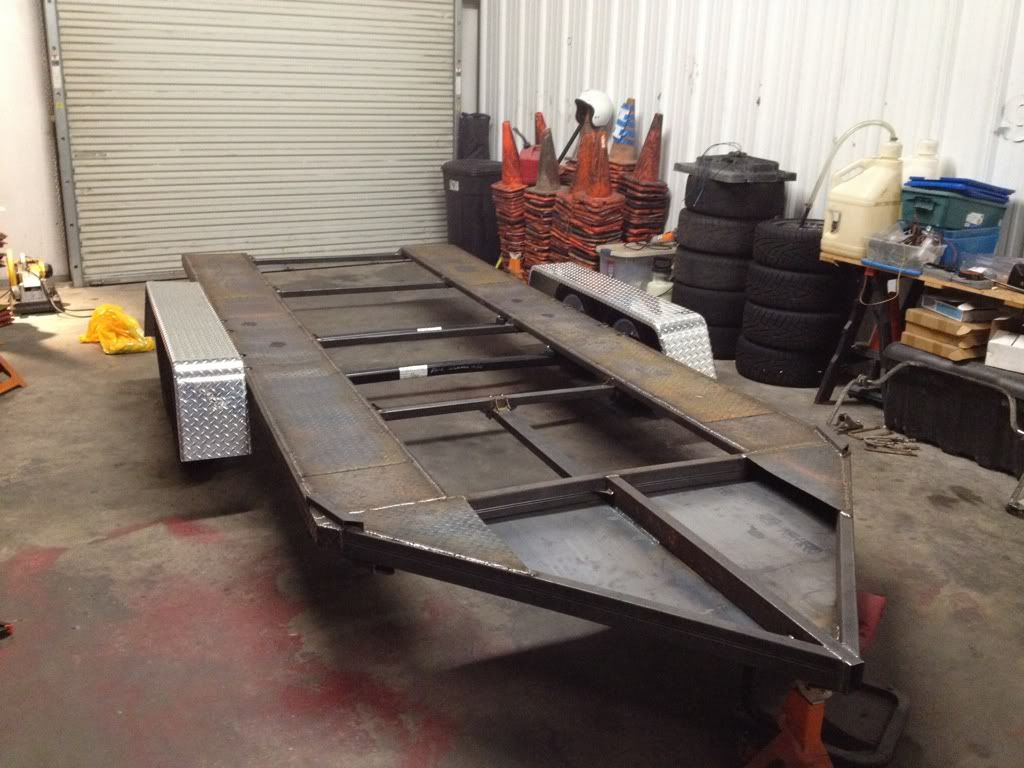
I stopped by my shop on the way home to see what they look like. I will need to cut them down but they should work really well:
A note to future readers of this post who are actually building a trailer of their own. Here is a really boring video on how to order a torsion axle: http://www.youtube.com/watch?v=5W1Hpgq9tWA The first thing to note is that most axles come cambered (basically they are pre-bent). Make sure your frame design will accommodate this! Next when you are building from scratch you will have a frame width dimension to go off of but will have to come up with your own hub face measurement. When you look at the specs for the axle you're ordering it will give you a minimum hub face measurement. In my case for a dexter toflex #9 axle the hub face width must be at least 12" wider than the frame. That minimum width will be very conservative so don't be afraid to use it. I added an inch just to be safe and now wish I hadn't.
I'm very disappointed in you David. I thought you were gonna build a light weight trailer. That's a lot of steel. Steel is heavy. I was totally expecting a trailer made out of balsa wood. And not just balsa wood, but balsa wood with holes drilled in it for added lightness. This isn't up to the STS standard.
Mark Wortham
SS #197 - 2004 Chevrolet Corvette Z06
Nice tongue. What kind of bracing did you put under the deck?
1994 R-package - gone, but not forgotten.
1966 Toyota Land Cruiser FJ40. Restification in progress. or should I say De-RUSTification in progress?
1984 Honda VF1100S. V4 Fury!
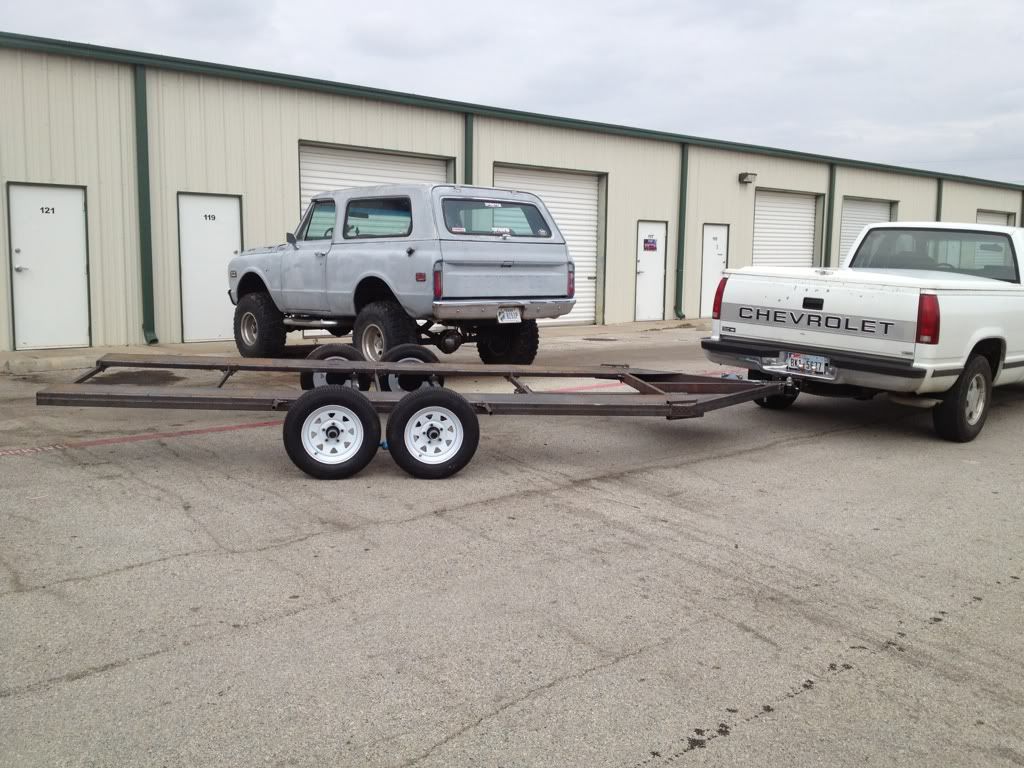
Got the trailer hooked up today and took it out for it's maiden voyage! I initially made a loop around my shop and then stop and look over the trailer. I repeated this a few times and then decided to hit the public street and head to an empty neighbourhood to run the trailer through some bumper and harder maneuvers:
One of the decisions you have to make when designing a trailer is tongue length. In very general terms a longer tongue is easier to back up with and a shorter tongue length will track behind the truck better and not cut corners as much. Personally I prefer a very short tongue but if you go too short the trailer can hit the truck when taking a tight turn. So at a crawl turning at full lock here is what I ended up with:
This is pretty perfect, close but not enough to worry about. Next stop was to head to the scales and luckily there is a truck stop a few minutes from my shop. In addition I can get there taking all bumpy back roads so it was a great shakedown for the trailer:
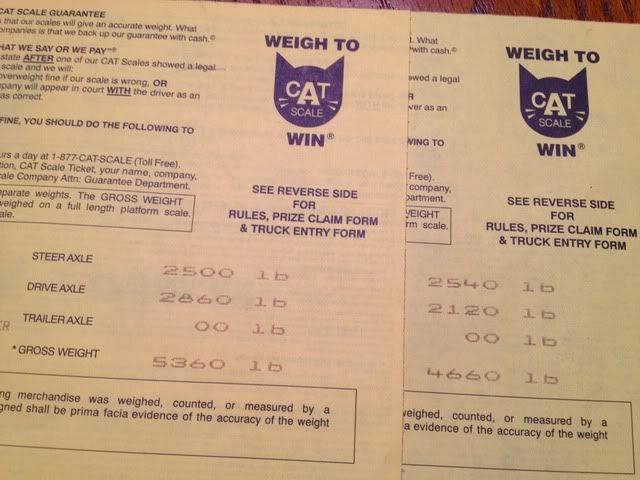
Using the scales at a truck stop is always a little confusing. Instead of trying to unhitch/rehitch the trailer while on the scale I decided to weight twice, once with trailer once without:
Now I don't have fenders/lights and a few other parts on yet. But I have all the components and weighed them individually so I can come up with a total final weight of 750lbs! I am very happy with that. My car and trailer together will weight less than a new Mini Cooper S!
Other than that the only other news is that one my $20 wheels leaks:
http://www.youtube.com/watch?v=uvK9g3Z5iCA
I know... I have given thought to composite decking. They make some cool fiberglass reinforced grating that would have been super light. I found some on craigslist. But in the end I decided it was better to not reinvent the wheel.
None yet. I still don't know exactly where the car will sit.
The sheet metal under the tongue; why not on top? Is that better bracing? Will you make drain holes?
There are 2 other triangles that will go on the top of the tongue in the front. You can actually see them in this picture. After that I am going to make a hinged lid so the area in the center will be storage. It is quite a lot of space and will help contribute to strengthening the tongue, the downside is that it's only 3 inches deep.
I'm going to have to use a rubber seal to make it watertight and come up with some sort of latch that is easy to open/close and puts pressure on the seal. Any suggestions on latches?
Really impressive. Nice work!
As for the seal, I think a lip that turns down will help protect a rubber gasket, but I'm not sure how you keep water out at the hinge unless the hinge itself is attached on the side rail too (below the plane of the lid).
Seems like making the compartment in a way that doesn't attempt to be watertight - but serves as a protected storage for "tough items" like straps, chains, connectors, etc. - would be easier and more reliable. Put in a few drain holes to keep it from retaining dampness and just have a flat lid with a rubber seal. If you drive through a big rainstorm, be sure to air-out the compartment at some point. You will have dry storage in the truck anyway, right?
Polished Turd Racing
Mick wrote: "I think Jerrett is the best autocrosser I have ever seen naked."
My stand-up jetski's hood seal is watertight. The hood itself isn't since it's vented, but the seal is. The Yamaha seal is stupid expensive so I use a generic replacement (available in just about any length). One end has two pivot brackets (separate since the hood removes easily) and the other has a simple "chest" styled lock. Holds up to barrel rolls, full speed rollovers, etc. But yeah, the seal is recessed into the hull and the hood has a small channel as well, so the seal is not visible when it's all closed up. I would imagine that's for protection as well as aesthetics.
I'm going to have to use a rubber seal to make it watertight and come up with some sort of latch that is easy to open/close and puts pressure on the seal. Any suggestions on latches?[/QUOTE]
The storage doors on motorhomes are big, flat panels that are usually pretty watertight. United RV, on the Airport Freeway NE of Ft. Worth, sells the latches, seals, and parts for reasonable prices. Might be worth a look.
Again, great thread, David. I look forward to hearing how the trailer progresses throughout a year of traveling to SCCA events around the country. I'm sure you'll find more things to add or modify, so please keep us informed.
Tire rack? spare tire mt? Looks good
As for lights, LED, never get stopped for a burnt out light!
turbo
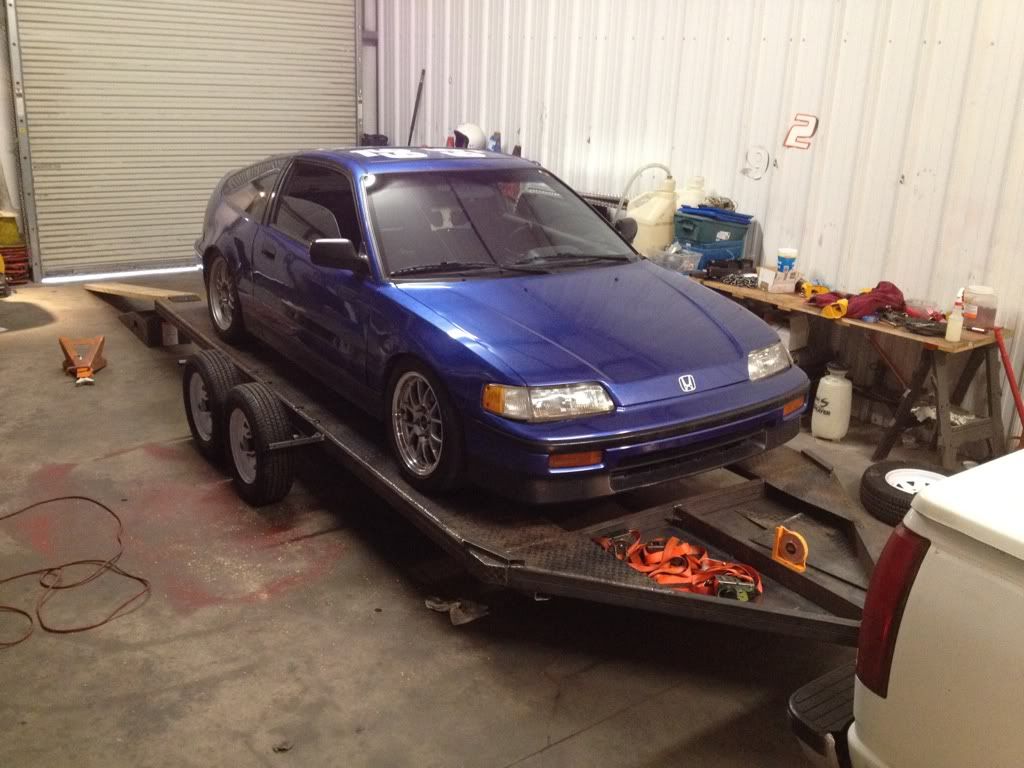
Got the car on the trailer a few days ago. First job was to get the tongue weight set. Since the car/trailer are soo light I could just use a regular bathroom scale.
After that I needed to figure out what ramp lenght I needed. There are a numerous ramp length caclulators online. These work well if you need a simple attack/breakover angle calculation. My car has one spot where the exhaust hangs down paticularly low so it was easier just to do some actual testing. I made some temporary wood ramps and then would repeatedly cut a few inches off the ramps until I ran out of clearance.
With the ramps at 6 feet long my car would still clear but it was getting pretty close. Just to be safe I am going to go with 6.5 foot ramps which should give me some buffer for unloading on unlevel ground. A side note I found was that wood 2x10s are 3.36lbs per foot which makes them just as light as any aluminum ramp, unfortunately they aren't strong enough on their own. I would love to try and make a simple lightweight brace to add to the wood but I don't have enought time to reinvent the wheel. So I just ordered a set of aluminum ATV ramps.
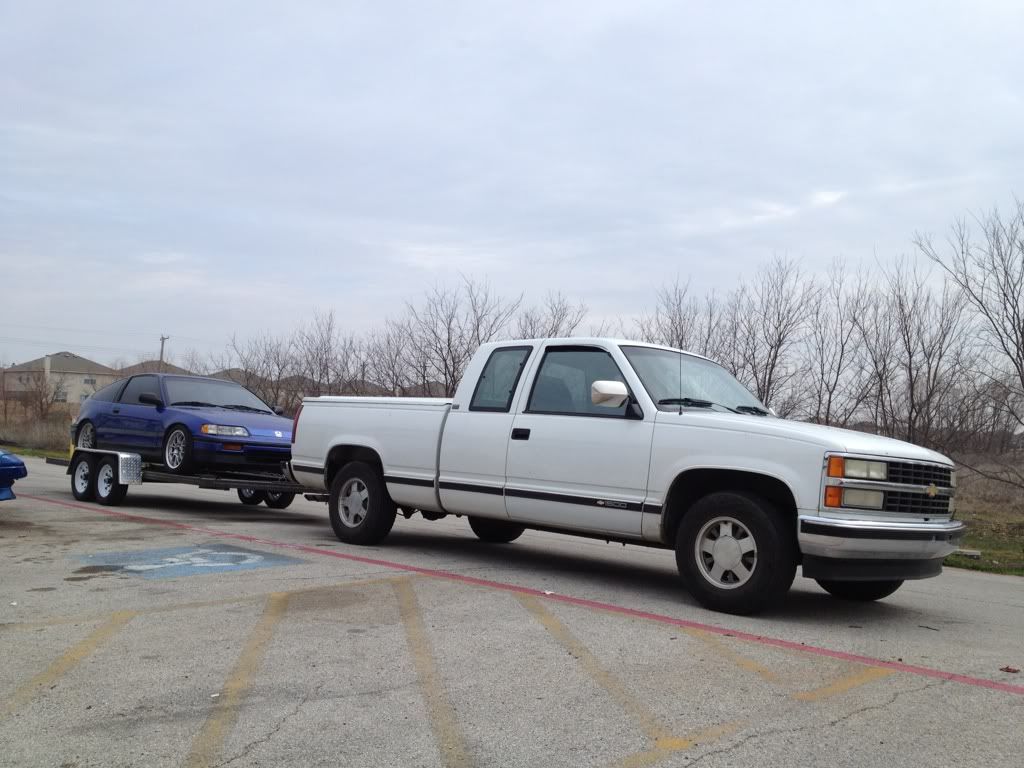
After that it was time to hit the road with the car on the trailer. After a few dozen assorted miles just to make sure everything was ok it was time to do some torture testing. If something is going to go wrong I want to know now. In addition with no paint on the trailer yet it's much easier to see problems. So I spent an hour driving around to every bumpy road I know of and ramming the trailer into every pothole I could find. During all of this I would get out and look over the trailer/car/chains/straps every few minutes. Finally to wrap things up I took the rig over some elevated rail road tracks (the kind that ramp up and down) and drove over them at least a half dozen times at faster speeds than I would ever normally drive.
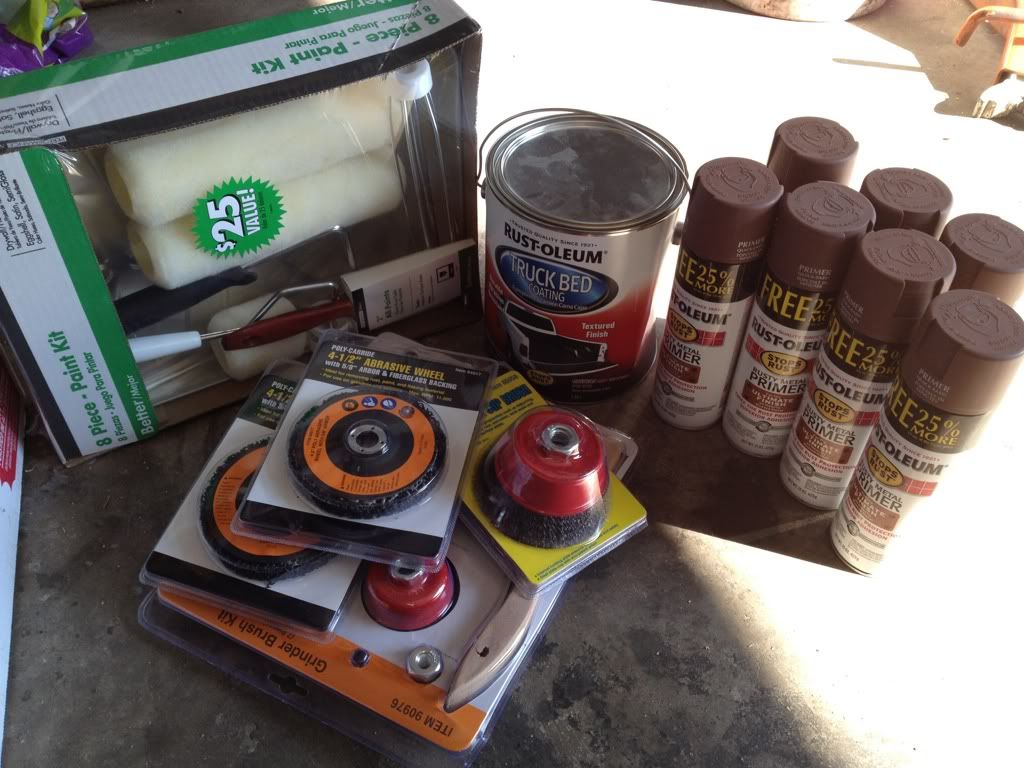
After a thorough inspection everything looks perfect so next up is paint. From some other posts I knew I decided I wanted to use bedliner but almost all bedliners will not adhere well to bare metal. Pretty much every bedliner out ther needs a primer but it gets even worse. If you are painting a car you can spray on a primer then wait 30 minutes then spray on the paint with no sanding inbetween. This won't work with bedliner and I AM NOT interested in sanding the whole stinking trailer twice.
So to sum up a what I learned from studying dozens of paint tech sheets. It turns out that rustoleum's bed liner will bond well with bare metal and can be used as a topcoat over fresh primer. In addition the rustoleum bed liner is sold locally, it's cheap, and it is available in both gallon and spray cans. For primers I tested a number of them on some and rustoleum's rusty metal primer was the best.
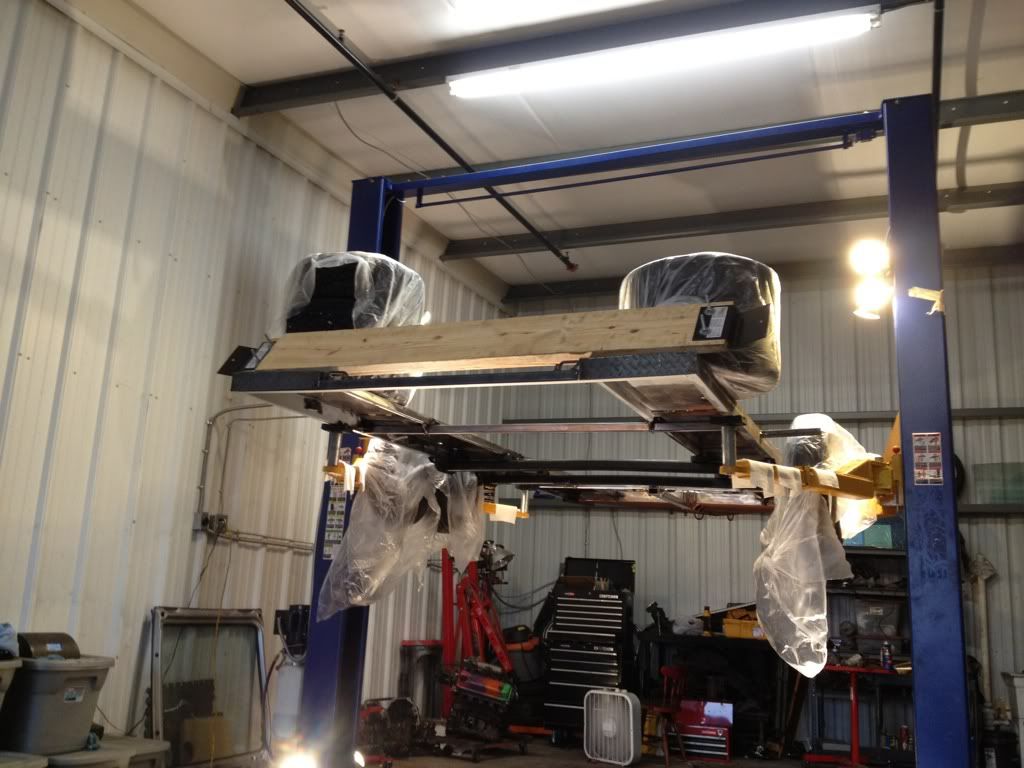
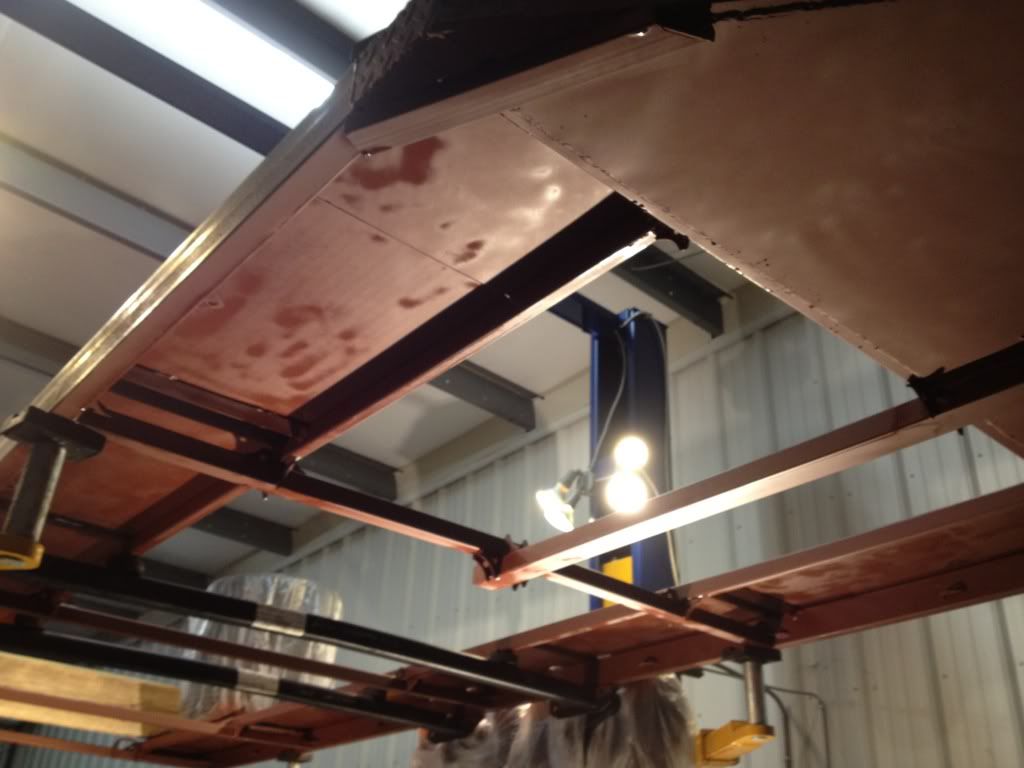
Next up was painting the underside of the trailer. Up until this point I have had a lot of fun building the trailer but this was a giant pain. It took hours working overhead to grind and wire brush the metal preparing it for paint.
So at this point the underside is done. Now all that's left is painting the top side, lights, and paperwork.
I love it!
Even thought I don't need it now the compartment is more planning for the future. Now that I have a 700lb trailer I can tow with just about anything, SUV, minivan, Cadillac Fleetwood or a C5 Corvette (and I'm really going to do this one when my Audi sells).
LOL, you know me too well.
I have thought about adding a spare tire mount between the decking but I can't decide between that and ramp storage there.
got a brake controller on the truck. If not look at the Prodigy P2.
This project has been great to follow. I hate to see you finish but Spring is on it's way.
Bobby
RED RULES!
90 Miata, 04 Rubicon, 05 Boxster
Truck already has a brake controller (my old truck!) sure is great to see her in a new role, with a sweet trailer built-to-fit.
Polished Turd Racing
Mick wrote: "I think Jerrett is the best autocrosser I have ever seen naked."
 Posting Permissions