Page 3 of 4 FirstFirst 1234 LastLast
Results 41 to 60 of 79

Thread: Miata into Exocet Build thread!

  1. #41
    Prefers his T-Bones Deboned... jeff_man's Avatar
    Join Date
    Dec 2006
    Location
    dallas
    Posts
    2,133

    Default

    Mine was just sent to paint.


  2. #42

    Default

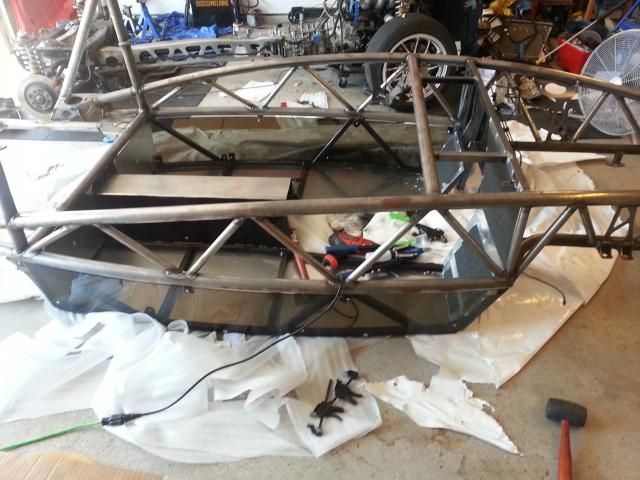
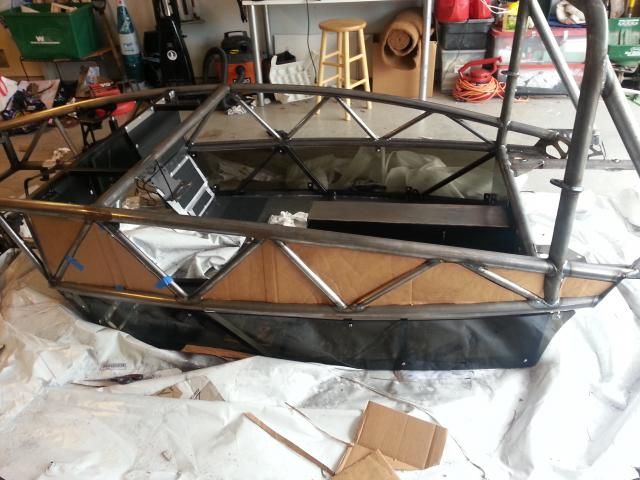
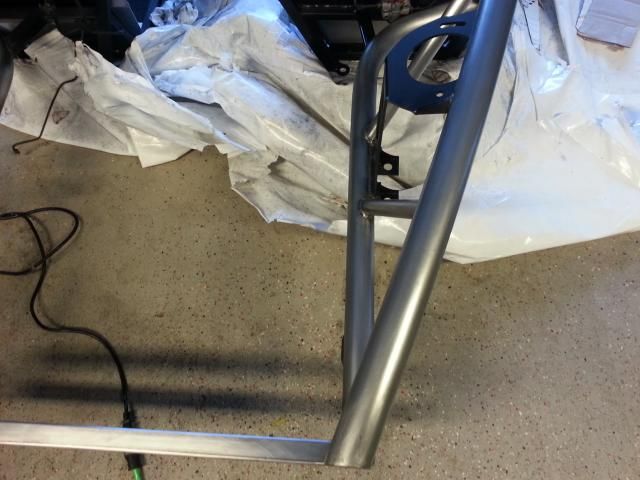
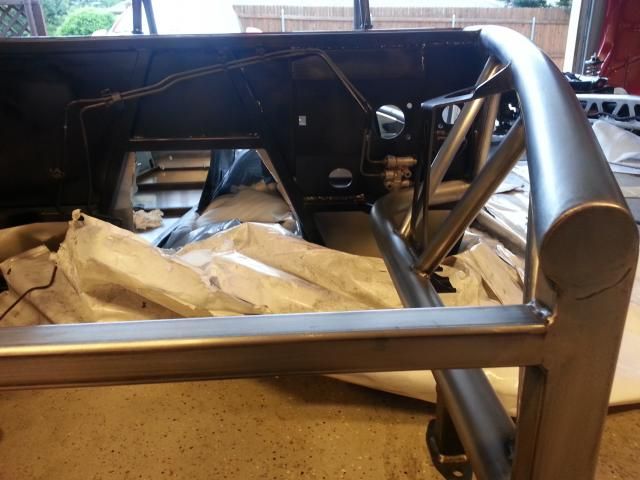
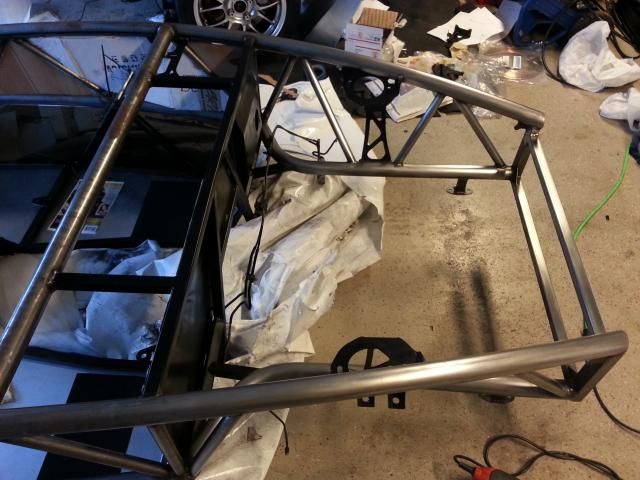
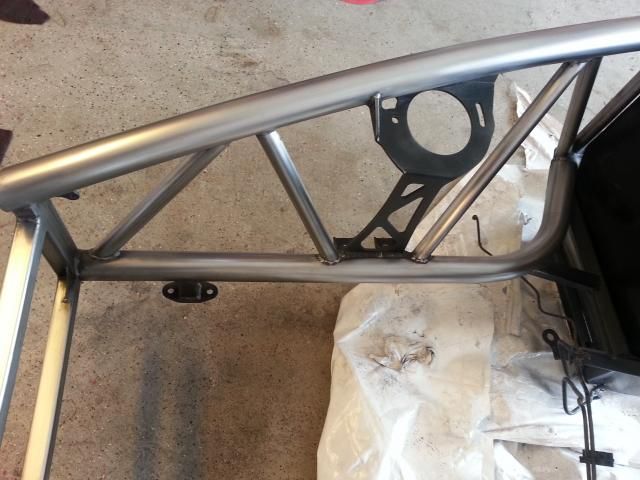
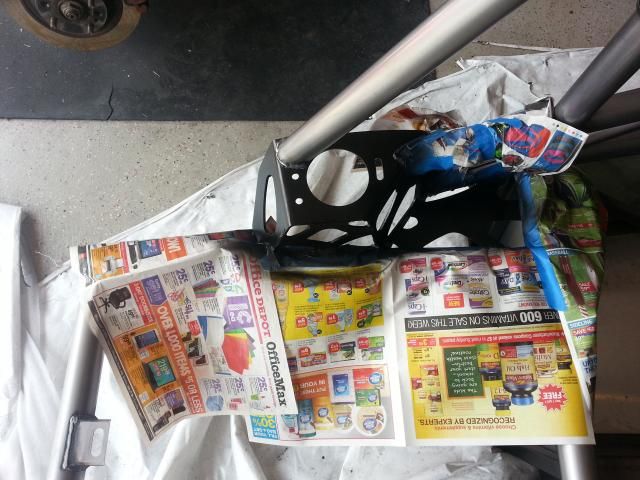
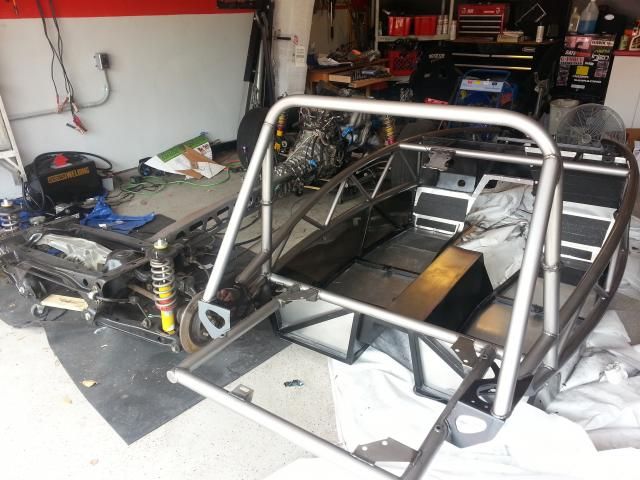
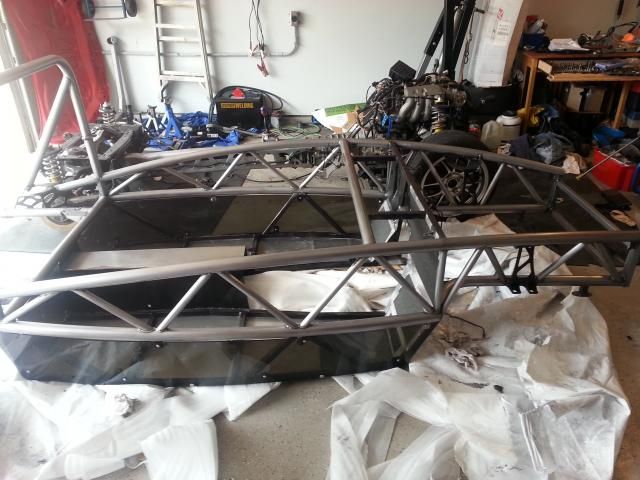
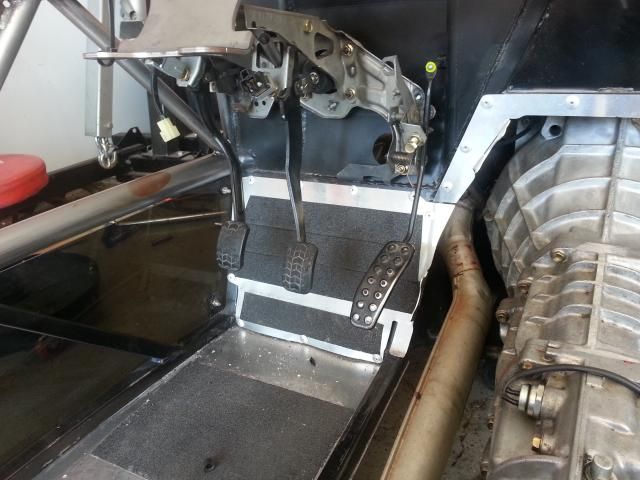
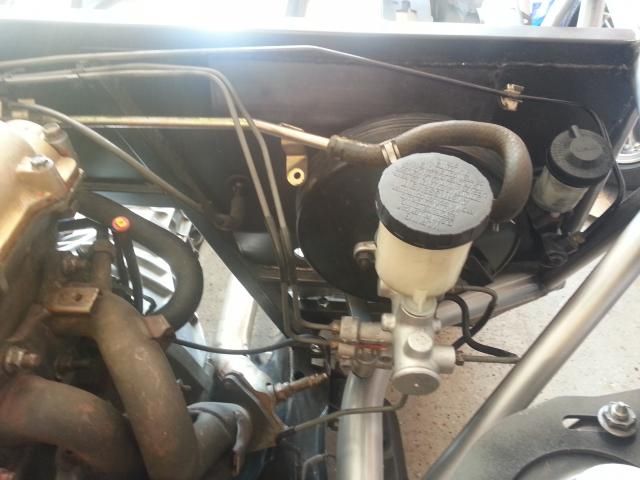
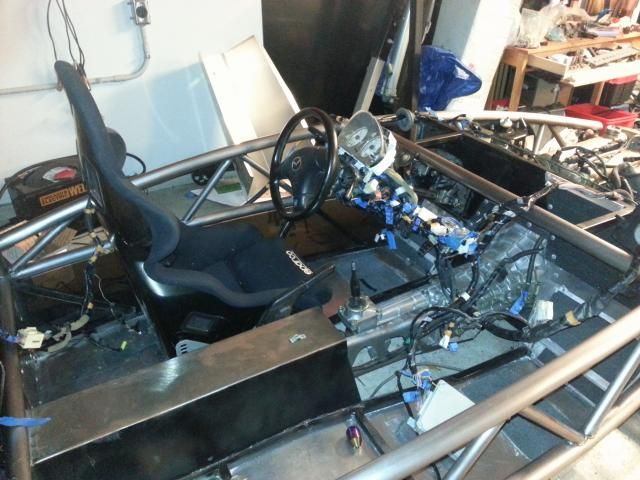
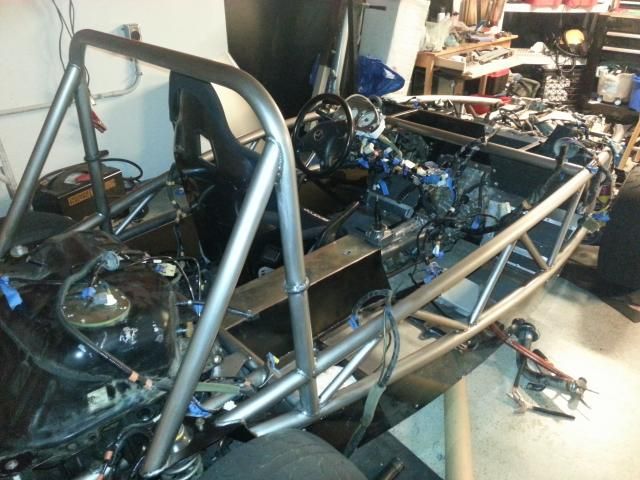
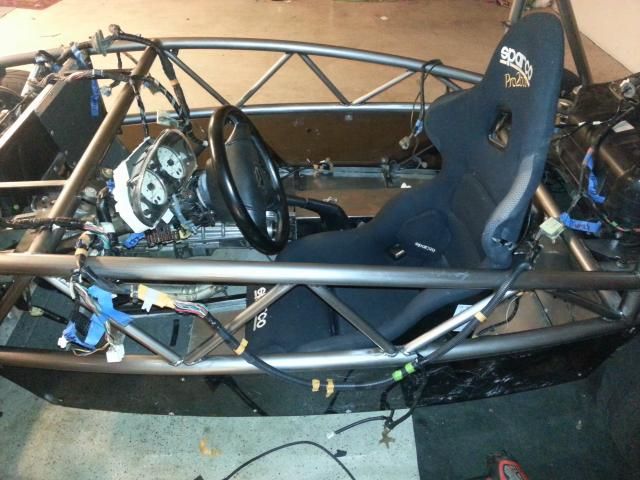
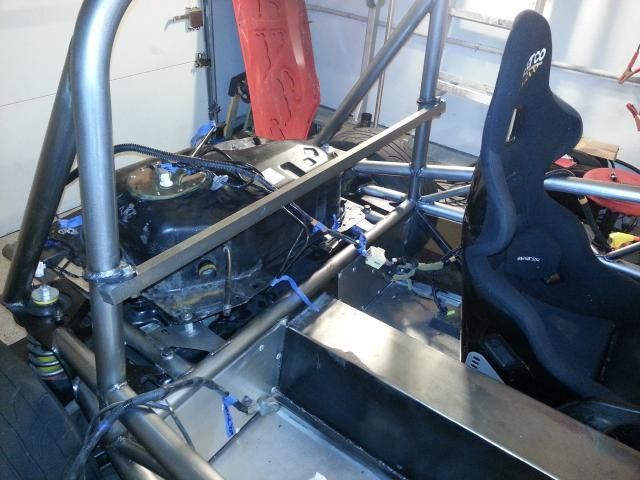
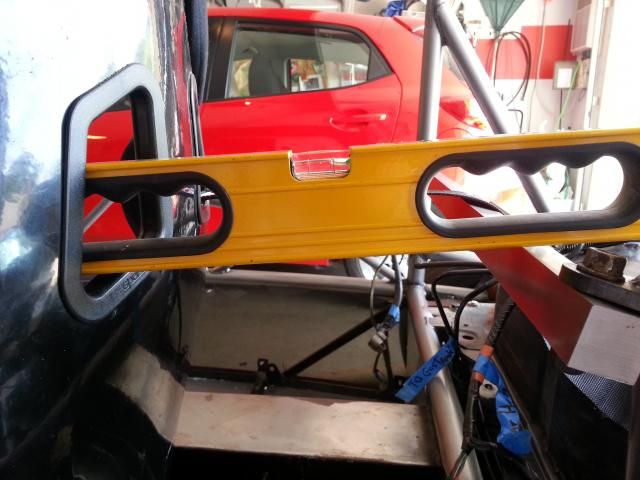
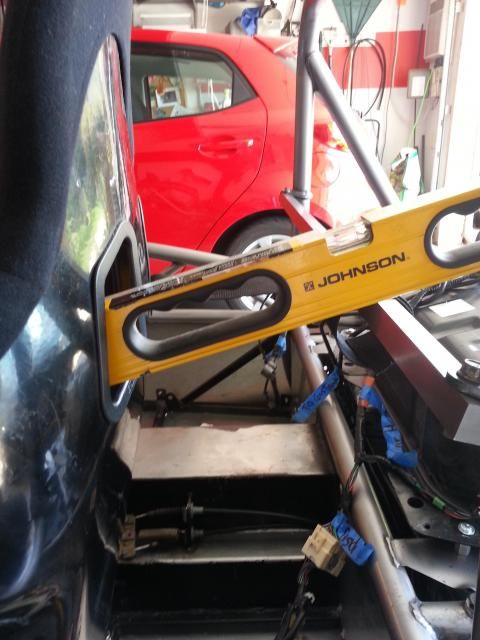
    Oh damn Jeff man believe it or not thats really fast that they got yours to paint! Congrats on sending it to paint, what color did you choose? Im also loving the steel floors thats an awesome addition! Theres a big update coming as soon as the photo's finish uploading

  3. #43

    Default

    So when we last left off I had the floors on the brake lines secured and the lower side panels on as well. When ordering this kit I purposely wanted no powder-coating or anything on the kit just bare metal. The original philosophy behind the build was a true minimalist build leaving off everything that didnt help you go faster turn better and accelerate faster. Because the resulting vehicle is so bare bones it makes sense (to me anyway!) to let the metal show and let the design of the kit be the "paintjob". Im hoping that this will flow well with the idea of the minimalist design. Hopefully that makes sense?

    Basically what it meant was that I had a full week ahead of me of sanding the frame to remove the brine and welding marks along with the surface rust that had formed. This was a monumental task that i truly never want to do again. I think i went through something crazy like 50 sheets of sandpaper 10 sheets of the steel wool like stuff that you use to finish before paint. I wanted all the of the curved tubes to be natural steel color, aka silver. Then i experimented with adding a matte clear ontop which failed miserably. So i stuck with an outdoor clear to protect the surface from the elements. This allowed me to keep the natural metal finish I wanted and not have it turn into an orange rust ball. For the most part this worked, there were a few places where the rust still poked through, and I dont know what I can do about it but for now im happy with it. I think you will agree it looks awesome!


    Here is the frame as shipped to me with all the dirt and grime on it as well as some surface rust

    This is me trying the matte clear which was a flop it make it look grey and unfinished.


    here is is with some clear on it, hard to tell but it is much shiner in the light where it matters, plus a cameo of my hand held sander which was a trooper!


    here I am mocking up the templates for the side panels that im hoping to fit later down the road once its road legal.


    mmm silver!

  4. #44

    Default

    Im really proud of the finish and the level of consistency I was able to achieve.


    Front engine portion done! Believe it or not this took almost a week.


    Masking of the rear panels for black paint


    The finished product!


  5. #45

    Default

    Then when the frame was finally all sanded and painted I put the kit on the subframes and bolted them down to 80ft lbs with blue locktite. I was expecting some trouble as the donor vehicle had signs of having been in an accident but everything went in without a hitch a nice surprise.

    Then came the steering column and the pedals, which was not nearly as easy as the sub frames. Apparently my steering rack had been compressed in the previously mentioned wreck. Enough so that everything bolted in perfectly fine but the steering shaft was 3/4ths and inch too short to fit into the steering rack. Luckly there are spacers on the back of the brake and gas pedals. A few minuets with a grinder and poof I had my 3/4ths of an inch. Although not so fast because now the throttle cable is too long, then the brake pedal wont bolt up to the brake booster because its too long... After shortening both of those I think I have something that will work. The only issue I see is that the brakes might be partially compressed but we will see how it is when its driveable. For now its good, I have a steering wheel brake pedal and clutch pedal all assembled!


  6. #46

    Default

    Also in the second the last picture you can see the biggest rust blob that poked through the clearcoat, luckly it will be on the inside with those side panels in place but any ideas of what to do about it. I dont think it could do a ton of harm if I just left it there. I dont know if I have the energy to completely sand back the frame again.

    Oh and im going autocrossing this weekend!! Huzzah, it will be in the mazda2 not the exocet. Look for the 20something year old male with blonde hair and a red car. You cant miss me!

  7. #47

    Default

    Picked up my donor yesterday and ordered my kit with Exomotive today! Chassis #100 hell yeah! Now let the wait begin lol.
    Exomotive Exocet #100

  8. #48
    Prefers his T-Bones Deboned... jeff_man's Avatar
    Join Date
    Dec 2006
    Location
    dallas
    Posts
    2,133

    Default

    They are picking mine up from paint today then packing it up.

    I will post color photos when we get it in the shop.

    I'm really glad I got a steal floor version. I think all the 2014 versions get that. More protection from the under side.

  9. #49

    Default

    Awesome pepper! Thats a lucky frame number for sure. Best of luck jeff_man have you figured out how to transport it or are you having it delivered directly to your shop. I had it delivered to a freight depot and it ended up being a wash in terms of savings. I think it was $200 more dollars to deliver to a residential address. By the time you factor in the rental truck, gas, and time taken off of work it honestly wasn't worth the hassle. Of course if you have all of those things already its a different story.

    Small update, ive spent most of today at the lovely DMV regional service center talking with the ladies there about the assignment of vin process. This is the first step in making the kit "road legal". They were very impressed with the manufactures certificate of origin as most of the people who come in dont have that. They did correct me though in that the very first process after the kit is complete is to call up your local law enforcement office and ask for the auto theft unit.

    Talk to the officer there and ask for a 68-A form. This form is required for the assignment of vin to your frame. Basically an officer comes out to where the vehicle is and you show him your paperwork proving that you have not stolen any parts used in assembling the vehicle. Obviously the more receipts you have here the better. You need a receipt or bill of sale for the miata parts ( i have the title to the donor vehicle so that proves i own it) and the recepit that exomotive sends you showing the amount you paid for your kit.

    The Officer checks everything and if he deems all parts are non stolen he fills out the 68A form which you take back to the DMV regional service center to go with the application for the assignment of a vin number.

    On a side note it was incredibly encouraging to talk to the DMV and have them understand what I was doing and more over know the process themselves. It gives me hope that this thing can one day be road legal. Now back to assembling the vehicle, next up is the gas tank and emergency brake.

  10. #50
    Prefers his T-Bones Deboned... jeff_man's Avatar
    Join Date
    Dec 2006
    Location
    dallas
    Posts
    2,133

    Default

    Frame number is 70 something, don't remember what they told me. It is being shipped to HVT suspension where we will be putting it together a little each week.

    Might be willing to pay you in beer and sexual favors to help out once your car is registered as street legal as you will know the process.

  11. #51
    Oil Changer
    Join Date
    Aug 2014
    Location
    Lewisville, Tx
    Posts
    11

    Default

    Amazing project!

  12. #52

    Default

    Nice, hope to see it out at Keller's when it's done!

  13. #53

    Default

    Thank you all for the kind words they keep me going on rough days like today. If I ever get this thing finished and road legal I will definitely bring it out to Keller's. So its update time, Ive had a bit to work on the car and got a few things done. I had a blast at the autocross, reminded me that all skills need practice to keep them up. I hadnt done any autocross or track in over a year and it showed in my sharp ungainly corrections. But it was fun and that's what it is about! Since last time I got the gas tank on, wheels brake lines hooked up, and have been working to get the drivers seat position finalized. Also I draped the wiring harness over the car to start to plug things in and make sure this thing runs! Heres some pics of the progress:


    Then came something that I am actually quite proud of. One of the things that is lacking on the base chassis is a harness bar. There are "provisions" for the stock seat belts but they were never designed to be used with this kit. What is nice is the perfectly placed tabs with holes in them on the rollbar. This was something that I had hoped to do when I placed my order for the kit but unsure if it would work when I got it. Luckly it did work and now I have a harness bar!

    What I did was go down to my local metal supermarket and buy a solid steel 1inch square tube. I had them cut it down to 44 inches and drilled two holes in it which line up with the seat belt mounting holes. Then a few bolts and nuts later and it is in, total cost is $32.45 and a hour of my time. I do want to get it welded in place after its inspected and road legal but for now I think its good!


    Now ive read that you want to have your harnesses anywhere from -15 to 15 angles. From this view It is almost spot on where it lines up with the holes in the seat, thats a win for me!
    Last edited by Bluegs03; 08-23-2014 at 05:11 PM.

  14. #54

    Default

    Now I have a question for all you fine well versed miata folk out there. I have not modified the wiring harness in any way and it is from a 2001 miata. On the bottom of the fuze box there are 3 connectors one big white one, a black one and the two leads for positive and negative. I have a fourth hole where you can plug something else in but I cant find anything to put in there. Is this left empty? I honestly cant remember if there was anything in there when i took it apart. Ive gone through the entire harness and I cant find a plug that will fit. Am I missing something????
    Heres a pic.


    Now this is the fuze box upside down with all the connections I can find plugged in. The empty one is to the left of the white plug! Is there something that is supposed to go in here?!

  15. #55

    Default

    On your harness bar -- If you can, I recommend you mount it on top of the tabs, not below. One thing you don't want to do is compress your spine in an instance where you actually use your shoulder straps.

  16. #56

    Default

    Quote Originally Posted by cwisenheimer View Post
    On your harness bar -- If you can, I recommend you mount it on top of the tabs, not below. One thing you don't want to do is compress your spine in an instance where you actually use your shoulder straps.

    Okay, correct me if im wrong but isnt the way its mounted now preventing compressing your spine? I added some pics to this to hopefully illustrate whats going on here. Am I correct in saying that you want to maintain a downward angle from the harness bar to the point where the belt goes over the shoulder? Aka the lowest point is where it lays on your shoulder? Because as it is there is a slight downward angle to the belt now. Moving the bar to the top will increase that downward angle and make it steeper. Doesn't the compression of the spine come when the belt is at a upward angle which pulls it down onto your shoulders during an accident?

    Another factor is that im a pretty tiny guy, i weigh 140-150lbs depending on how many burgers ive managed to eat that week, and im 5'7'' so not exactly a giant. In one of the pictures you can see the shoulder harness hole is almost not far enough down for it the belt to lay horizontal on my shoulder! This may be where the difference is? Again im not an expert on this and id love your thoughts as this is something I really dont want to screw up!

    Here is a level sitting on the harness bar and seat showing the angle more clearly, look at the bubble in the middle and how it is angled to the right showing a downward angle, is this the angle you want to achieve?


    Now a picture with the harness bar moved to the top of the mounting holes, note the bubble has moved even further to the right


    And bonus picture here is how the harness sits with me in the seat and the level raised to where my shoulders are.


    So whatcha think good or raise it for a steeper downward angle?
    Thanks!

  17. #57

    Default

    Ah. I was thinking of the geometry of those tabs in a stock Miata in relation to a stock seat. It looks like your geometry is okay. Sorry about that. Just looking out for you.

  18. #58
    Prefers his T-Bones Deboned... jeff_man's Avatar
    Join Date
    Dec 2006
    Location
    dallas
    Posts
    2,133

    Default

    Started taking apart the car today.

    Can follow the build at https://www.facebook.com/NMHFR and https://www.facebook.com/hvtauto

  19. #59

    Default

    Saw the two the FM guys are working on this weekend. It's going to be all kinds of cool and fun when finished. Keep the updates coming.

  20. #60
    Prefers his T-Bones Deboned... jeff_man's Avatar
    Join Date
    Dec 2006
    Location
    dallas
    Posts
    2,133

    Default

    I'm extremely unimpressed with anything FM is doing. They are doing cheap swaps and in most cases aren't even cleaning off the sub frame.

    My frame will be here Thursday.

Page 3 of 4 FirstFirst 1234 LastLast

Similar Threads

  1. Insane build thread on Miata Turbo
    By black roadster in forum Miata Tech and Chat
    Replies: 6
    Last Post: 02-22-2014, 09:03 PM
  2. '97 Miata M Edition build thread
    By whoswatchingme in forum Miata Tech and Chat
    Replies: 39
    Last Post: 02-21-2014, 02:33 PM
  3. Replies: 26
    Last Post: 08-24-2013, 07:12 PM
  4. 2000 Miata LS build thread-whoswatchingme
    By whoswatchingme in forum Miata Tech and Chat
    Replies: 9
    Last Post: 07-18-2013, 10:05 PM
  5. Project Miata: Build Thread
    By offsprg01 in forum Miata Tech and Chat
    Replies: 39
    Last Post: 02-22-2012, 04:30 PM

Posting Permissions

  • You may not post new threads
  • You may not post replies
  • You may not post attachments
  • You may not edit your posts
  •